|
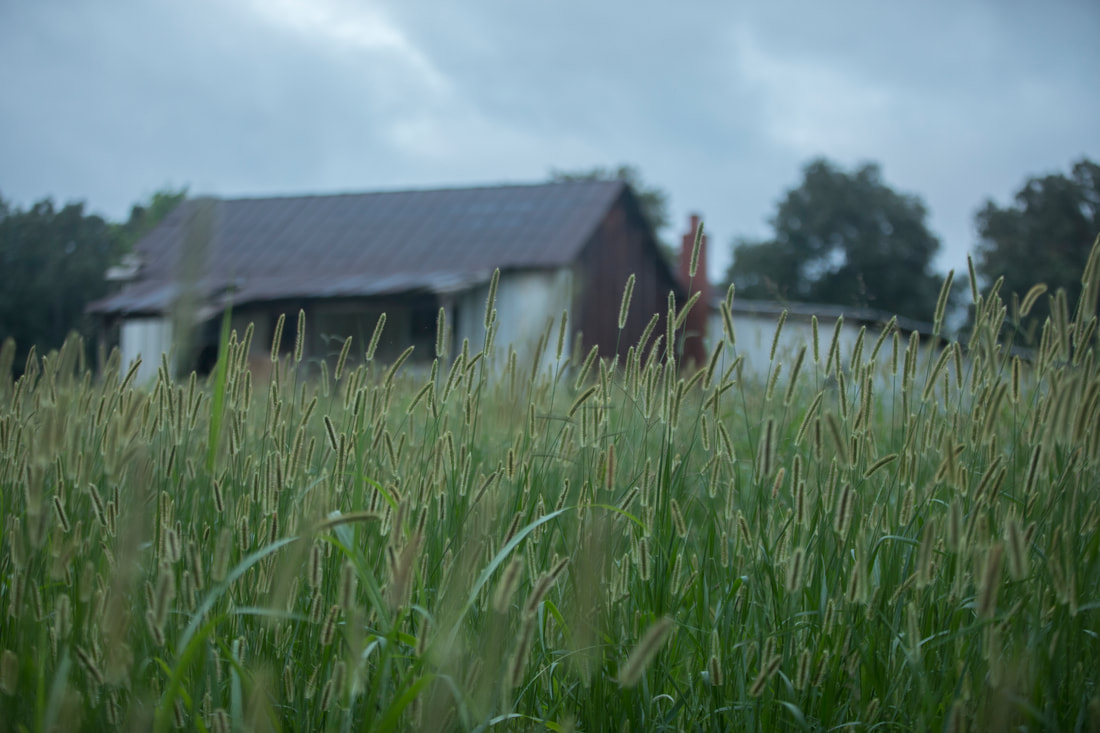
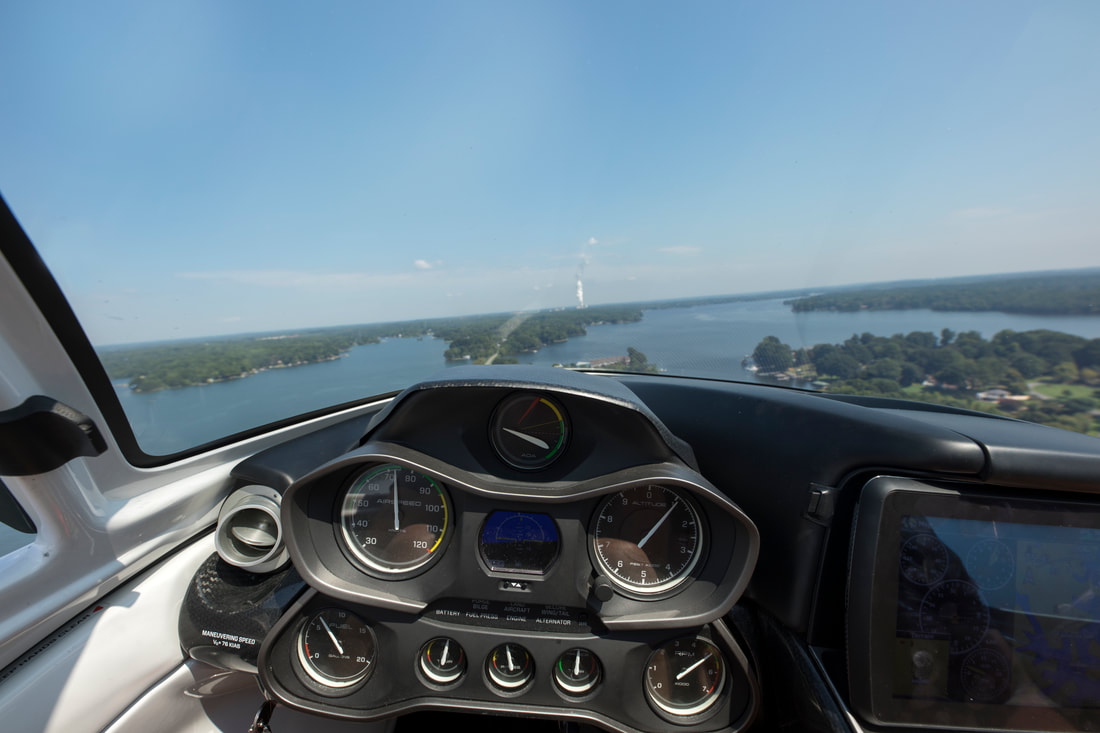
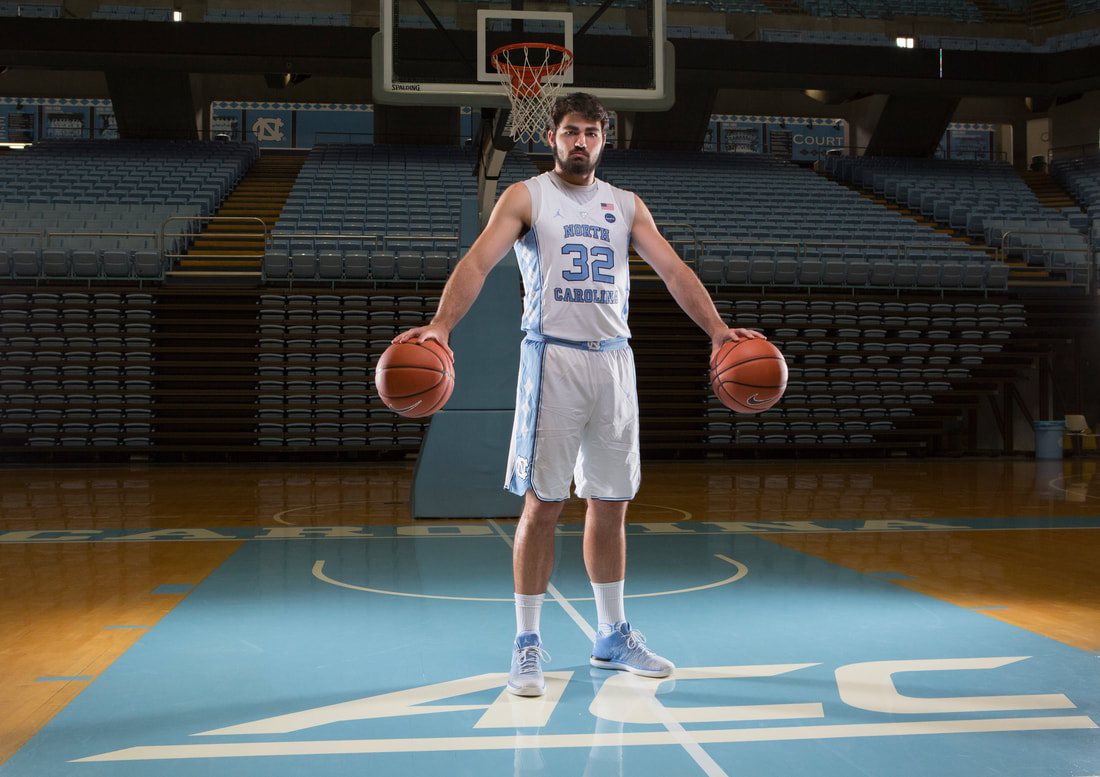
I've been on my professional photography journey for a little over three years now, and the more experience I get, the more I come across people in all kinds of circumstances. From talented performers and athletes to companies selling all kinds of cool products and services, I love it all! As a photographer, you get to capture a glimpse at people doing amazing things, and you see and touch lives of people you never would have met otherwise. I recently embarked on a year-long project to capture images of a family farm that is being sold off for development. They want to have professional landscape shots captured to preserve memories of a farm that has been in their family for generations. Great grandma, grandma and grandpa still live on the farm, so I've had a chance to learn about their lives on the farm for the last 90 years, and I suspect I'll have made some good friends by the time the project is completed. This is so much more than just taking beautiful landscape pictures. It's about capturing the places and things that made this place home for generations. I'm honored that they trust me to do that for them. Another really cool example of photography taking me where I wouldn't have gone otherwise was a photo shoot for an article in a local magazine. I met a U.S. Marine pilot who took me for a flight in an amazing little aircraft called the ICON A5. We flew over and landed on the local lake. It was a really cool experience, and I met a great guy who served our country. Photography did that for me! One last example was a photo shoot with Luke Maye from the UNC Tarheels basketball team. I had the unique opportunity to spend time with a wonderful student athlete that walked on to a Division 1 basketball team and made the national stage before his senior year by helping his team win the championship. His belief in himself and others is unbelievably inspiring. His work ethic and humility should be a lesson to all people who make it to the spotlight. If I had not started my photography journey, this never would have happened.
I've worked hard, spent lots of time and money to compete as a professional photographer, and pledged to continually get better at my craft. If you're committed to making it as a pro, remember this...your passion for your craft is important, but your passion for the journey is priceless. Seeking out new opportunities to broaden your world view and meeting people doing amazing things will keep your fire burning for photography for many years to come. - Brant Waldeck Brant is a published professional photographer and photography teacher living in Huntersville, NC with his wife and three kids.
2 Comments
As a professional photographer and cinematographer, I feel that it's my job to elevate others...lift them up to be larger than life. And not just people, but products or experiences. At this point, you might be saying, "That's sounds like some corporate speak to me, Brant. Just words. No meaning."
But that's not the case. Let me cite some examples.
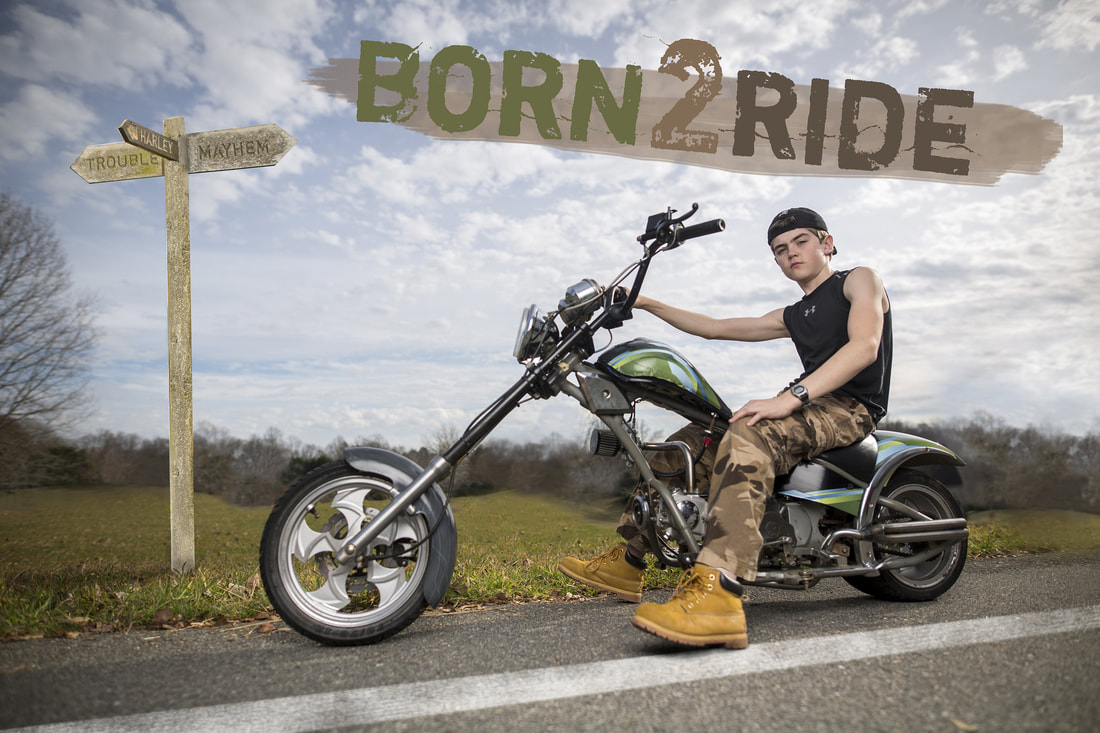
Take this image of my son on his cool chopper minibike. Sure it's a professionally shot image and looks nice, but it's so much more than that to him. My son has a form of cerebral palsy called spastic diplega, which impedes the function of his legs. It makes it hard for him to run and play with other kids, play sports, or just walk around in general. This mini bike allow him to cruise around without worry of his legs giving out. It speaks to his personality as a complete gear head (mechanic-in-the-making). And it creates an image of him that he can be proud of. This is so much more than a good picture. It means style, freedom and self image to my son. I wouldn't have captured his essence if I didn't know enough about him.
To that end, I strive to understand where my clients are coming from, not just what their product is. What's their personality, their company mission, their audience. If you don't understand these elements on a deeper level, you won't be able to elevate them. Your work won't have meaning.
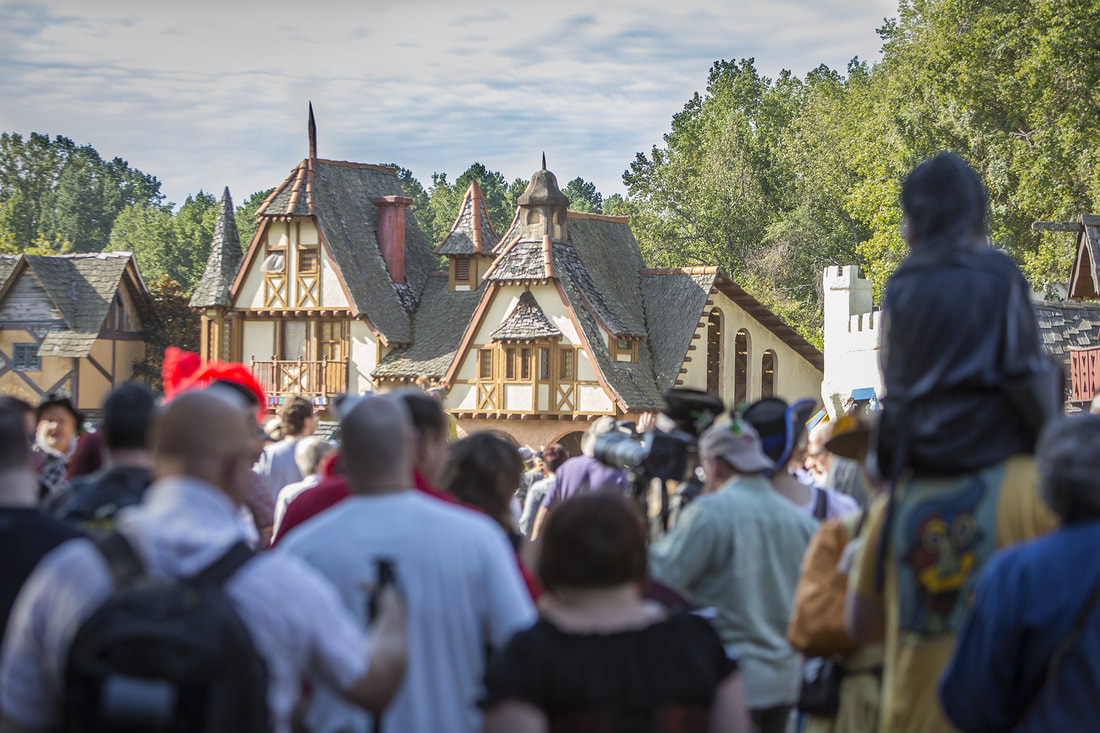
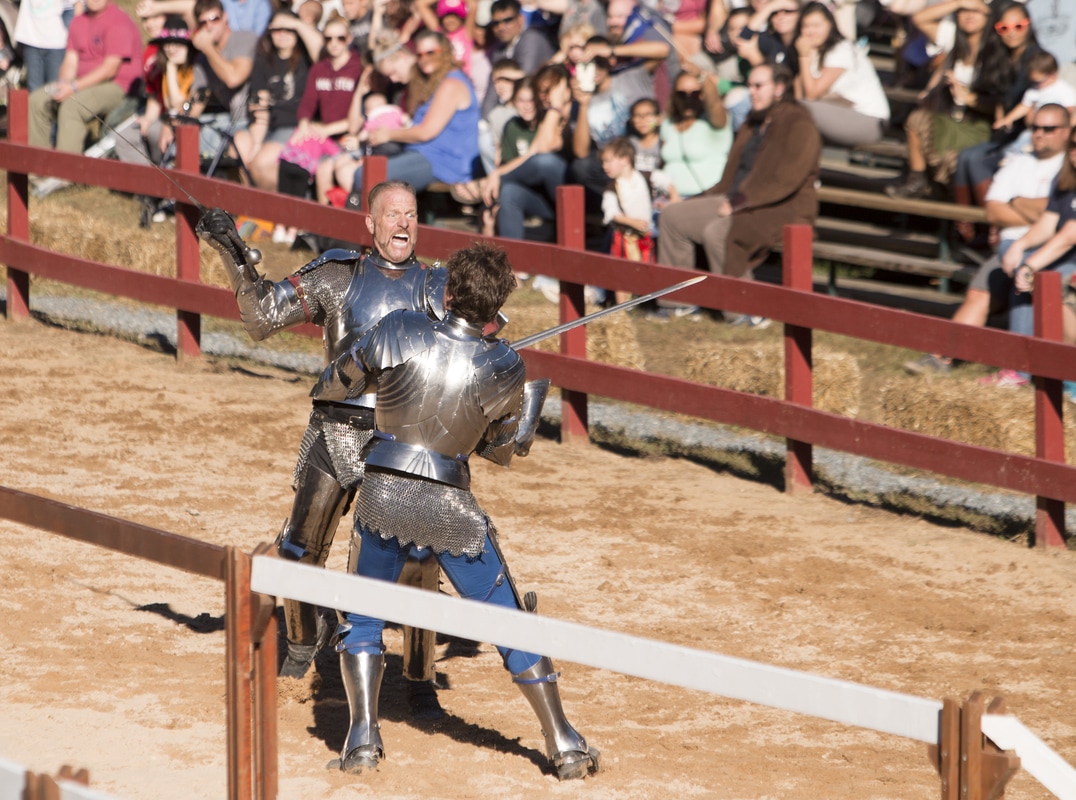
Here's another example. This photo was taken for the Carolina Renaissance Festival. It's more than just a picture of people at the festival. It captures the surreal quality of the location and the large crowd that attends every year. It's inviting to potential visitors. This has been used many times for their social media because it has that magical quality that captures and elevates the experience.
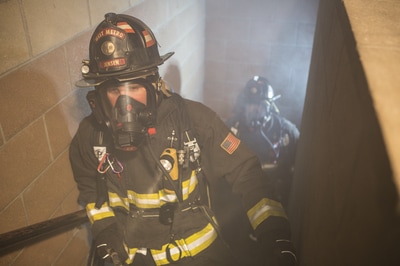
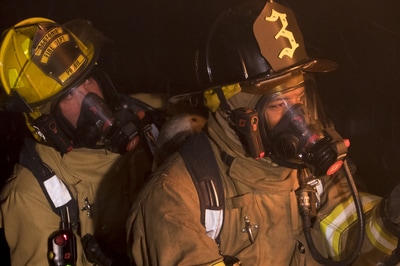
Here's a video example. My client, Scott Safety, needed to convey the chaos that happens on scene at a structure fire and the ability for firefighters to use their product to see in the dark thick smoke. Because we had been to numerous controlled burns and talked to many different firefighters, we were able to bring the experience to life and elevate their product in the eyes of firefighters. It's more than just a fancy mask. It's a game changing, life saving device.
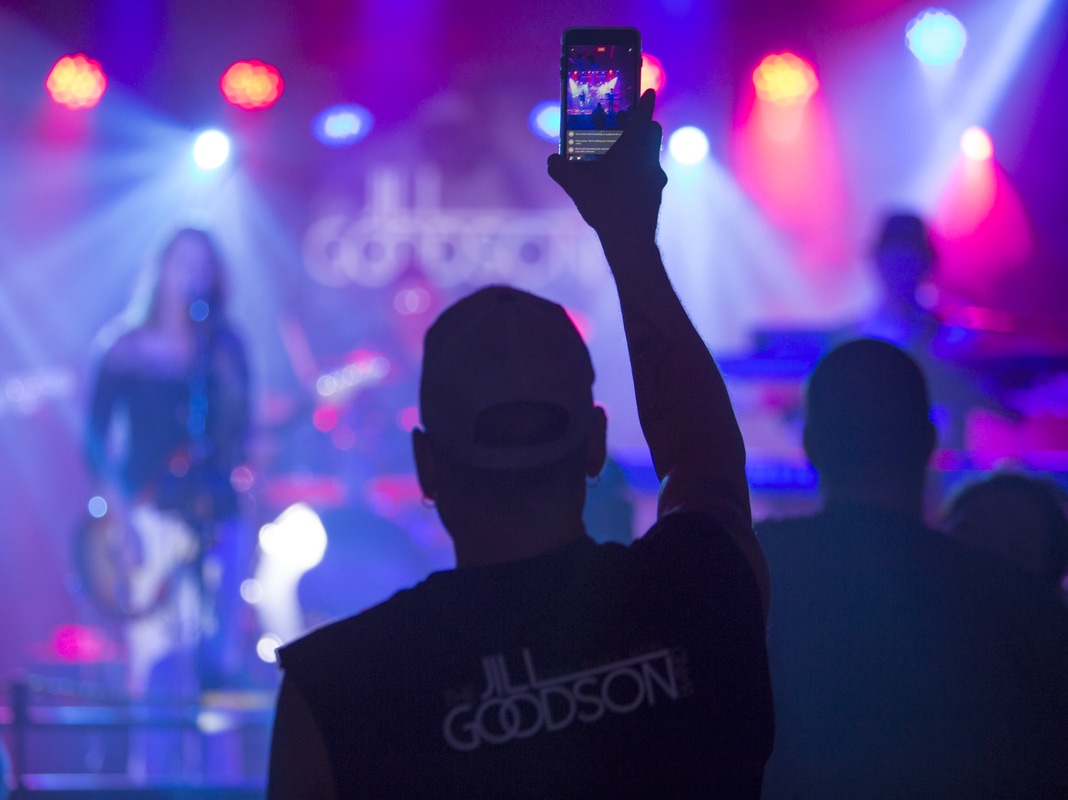
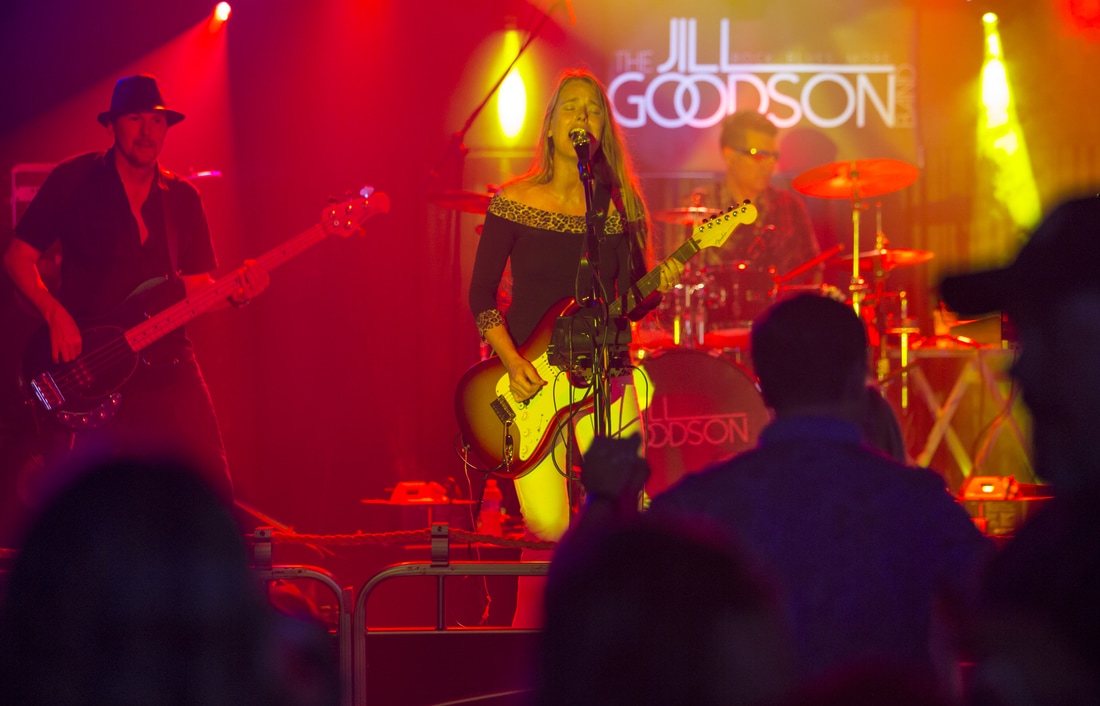
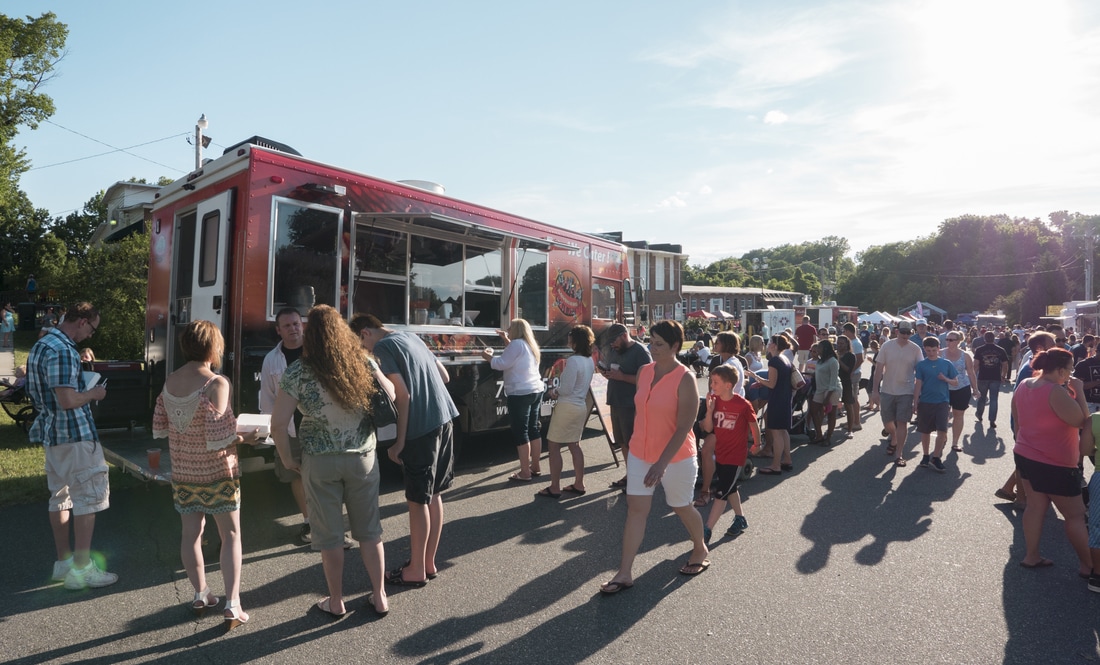
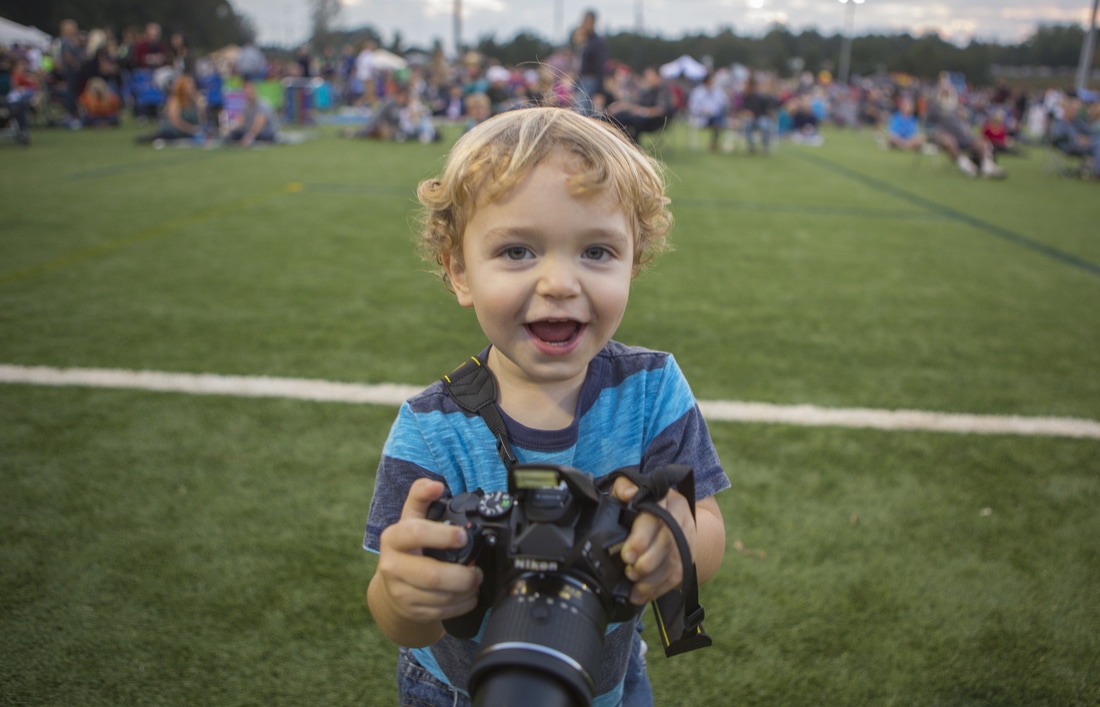
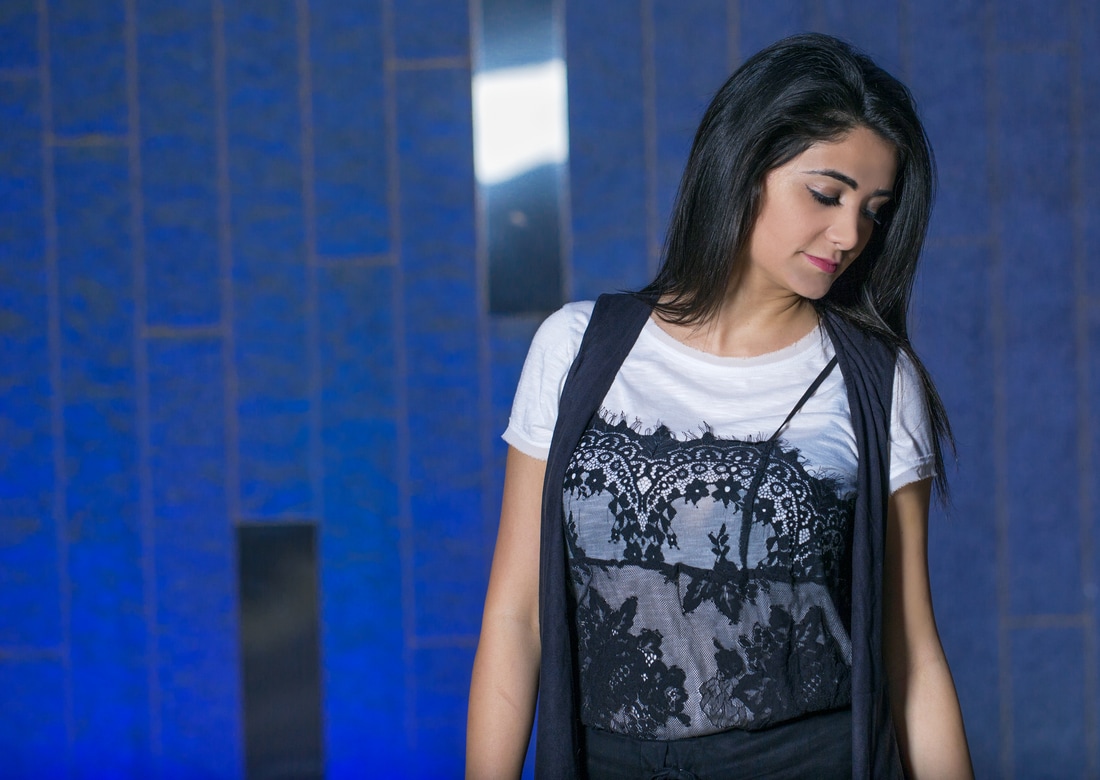
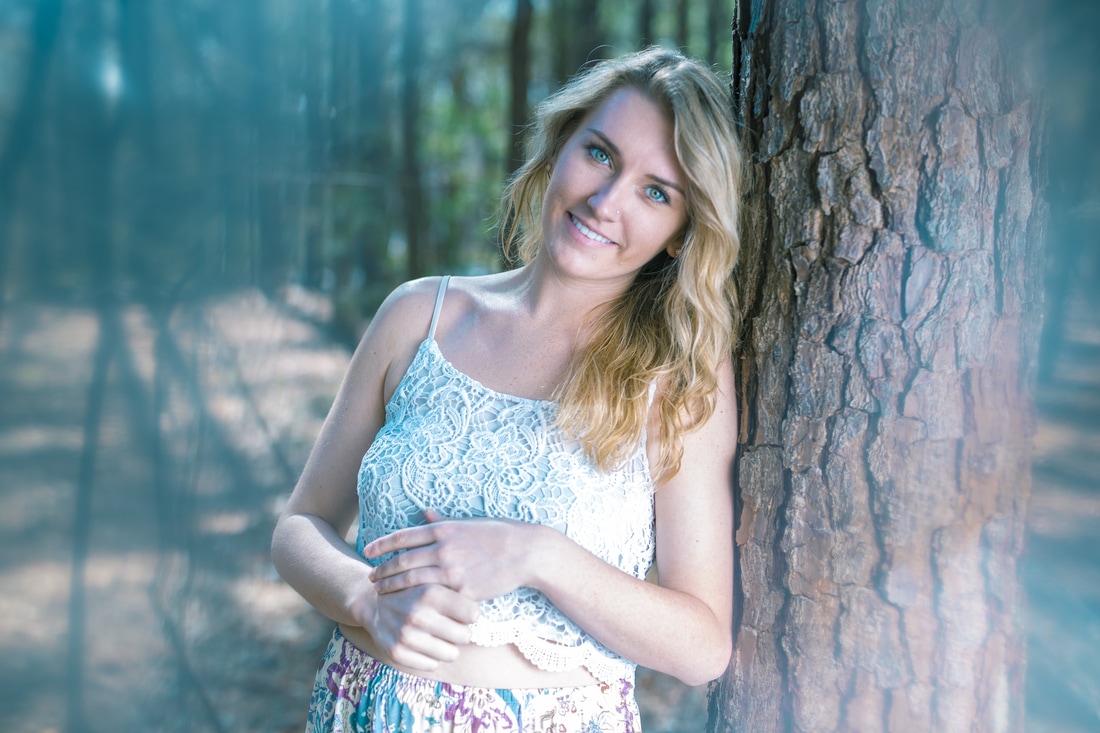
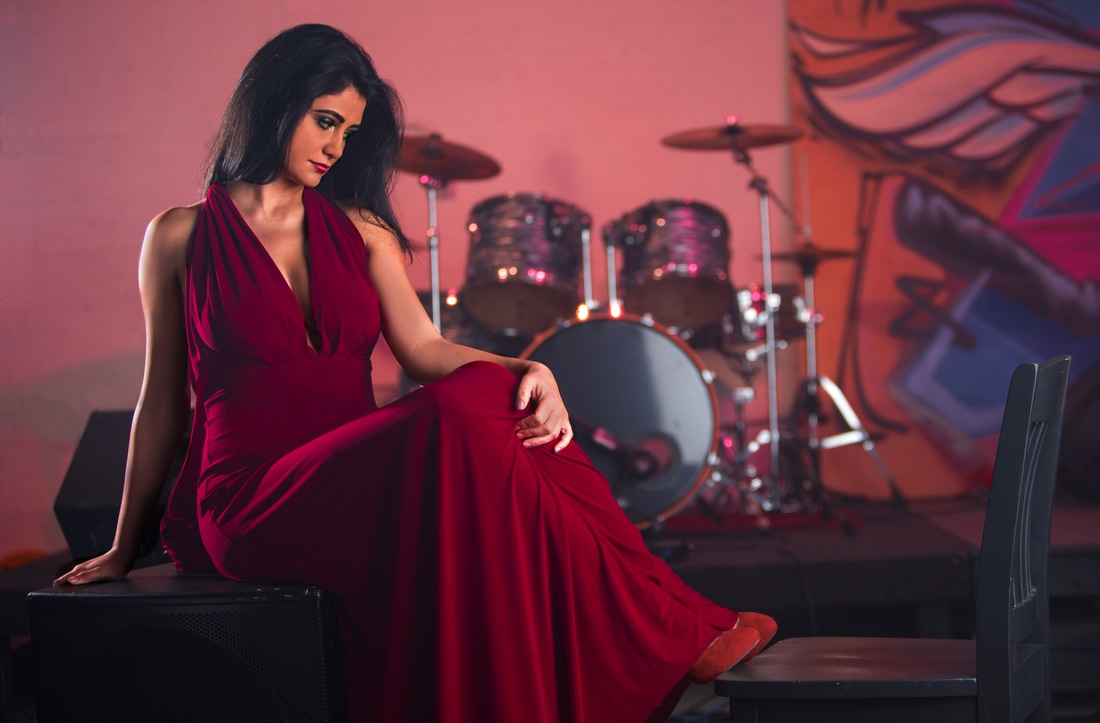
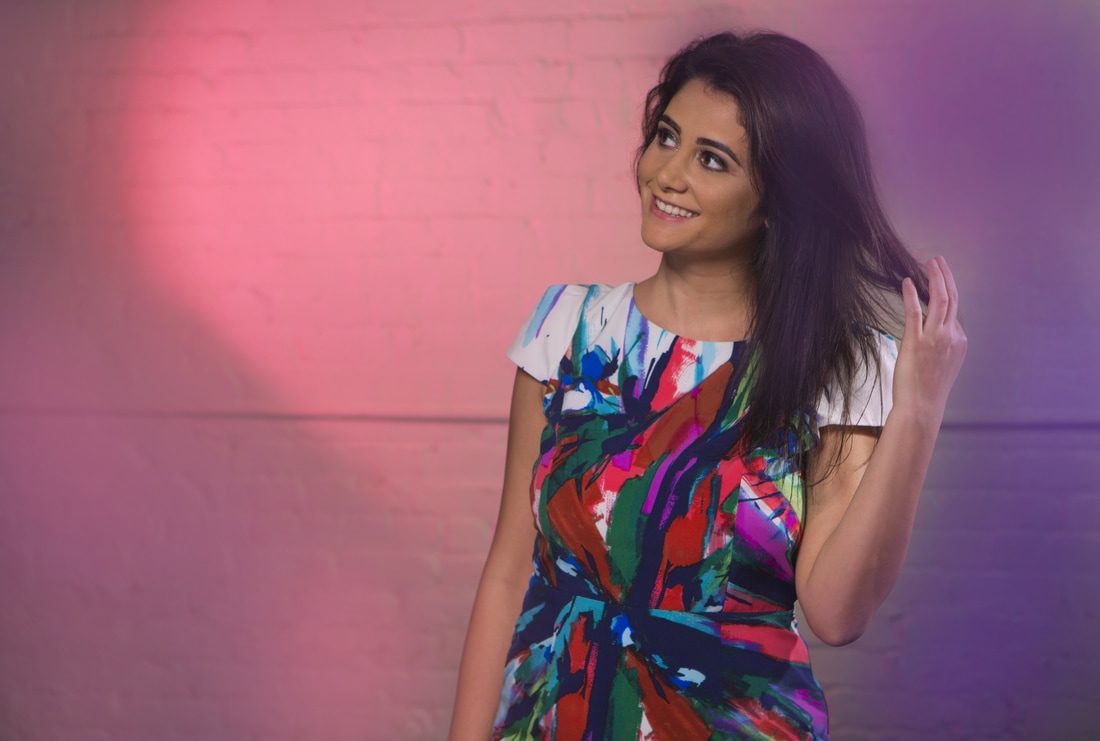
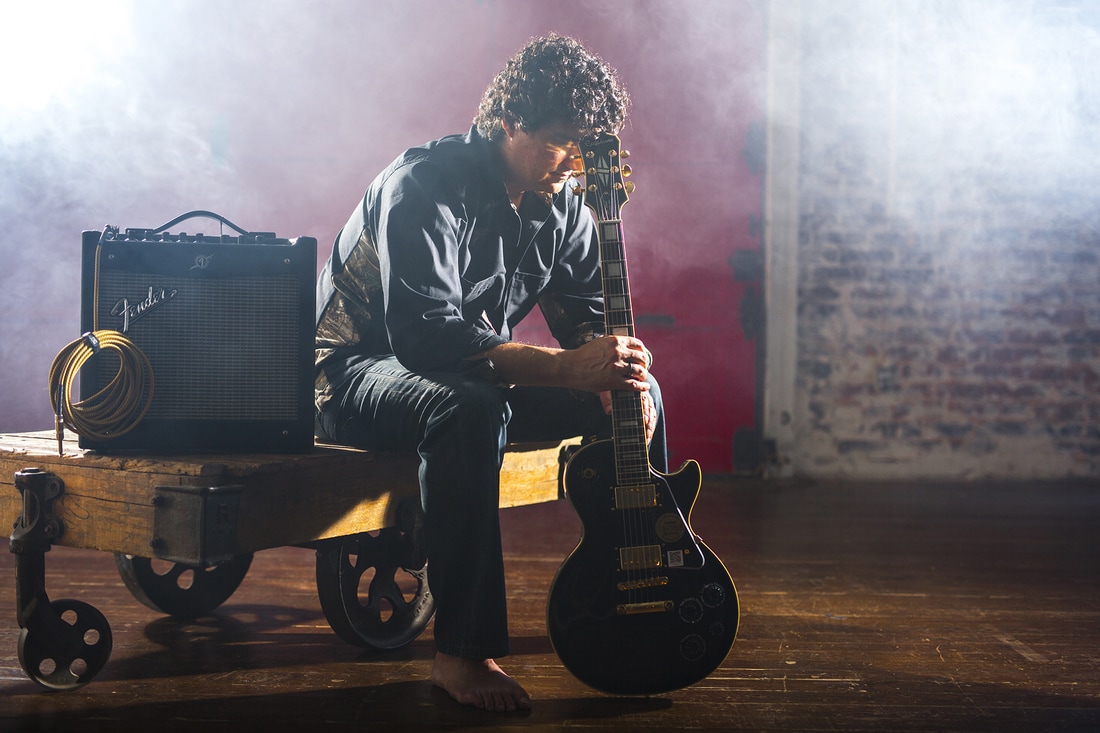
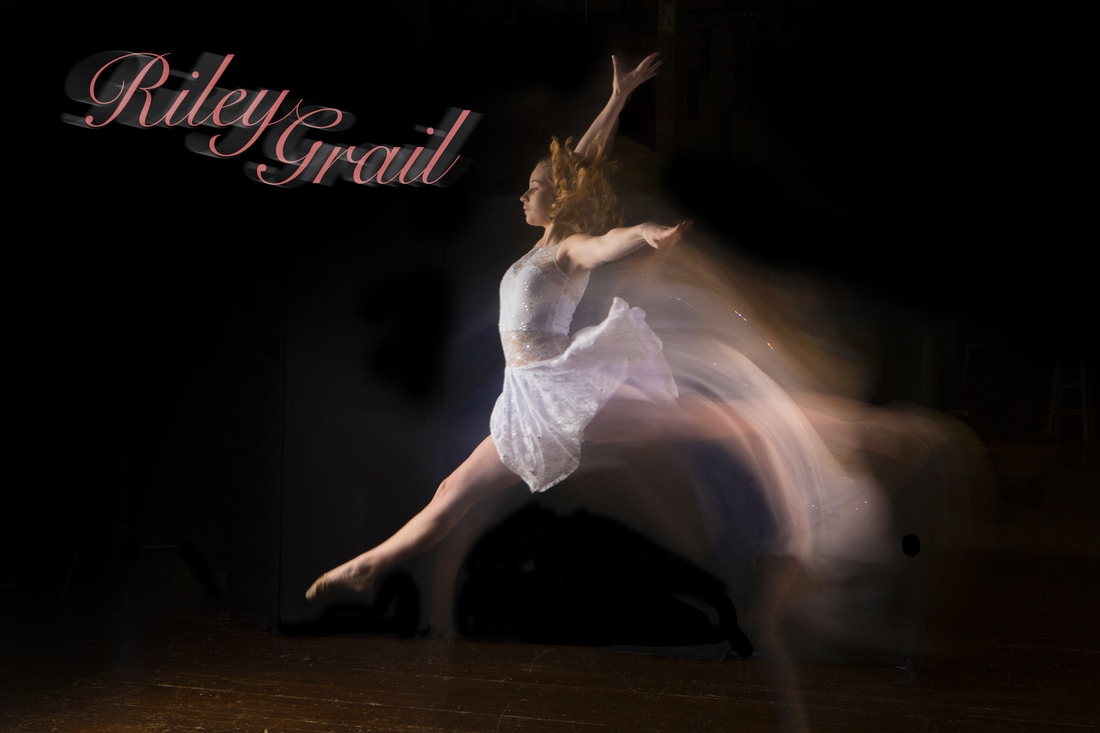
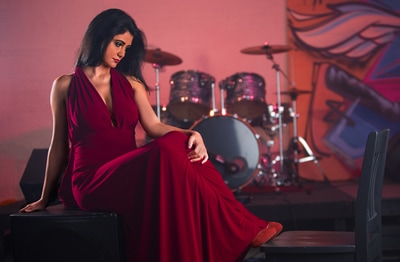
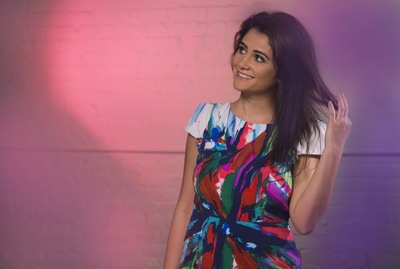
I'll close with this...if you strive to elevate, it changes the way you work. It changes the way you see products, people and events around you. You begin to look for the positives. You ask more in-depth questions so you can understand at a deeper level. This life philosophy doesn't just apply to business. If you elevate those around you in your personal life, you'll find that it elevates you. So if you make one change this year, keep "elevate" top of mind and act on it. The effects will change the quality of your work, your business and your life. 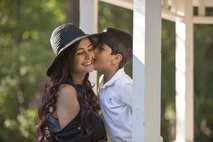 I often get asked, "What kind of photography do you do?" My answer is, "Whatever I can do with a camera." I'm not trying to be sarcastic...it really is whatever I can do with light and composition. It doesn't matter what the subject is. Sure, there are nuances to shooting different kinds of photography, but that can be learned with practice. 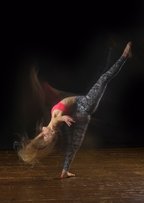 That being said, as human beings, we innately try to categorize the things and people around us. It helps us bring order to all of the information our brains receive every day. So it makes sense that people would ask me what type of photographer I am. Do I do landscape? portraits? family? commercial? sports? wildlife? events? 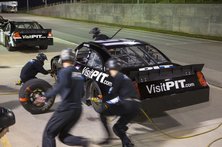 A sports photographer looks for that magic moment that freezes the action of a great athlete. A landscape photographer is looking for the best light and a magical setting to bring beauty into our lives with a photograph. A commercial photographer is trying to set up the best lighting and make you salivate over the new product they're capturing on camera. A family photographer wants to capture the personality of you and your children by snapping the shutter at just the right moment. A portrait photographer looks to create beautiful, stylized lighting that makes you look your best. 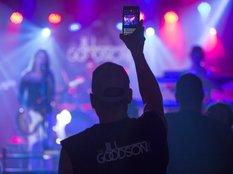 I could go on, but you get the point. All photographers are just trying to do the same thing...capture a scene in a meaningful and creative way by mastering light, composition and the full capabilities of their cameras. The subjects change. The other elements do not. 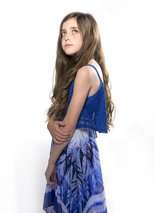 What I learn from one type of photography helps me with all other types of photography. For instance, wildlife photography teaches you patience, which is very beneficial when photographing young children. Event photography teaches you to see fleeting moments that must be captured at that moment to communicate the feeling of the event. This also helps when doing candid portraits of children (and adults). Understanding portrait lighting styles in a studio can help you understand how to light a product for commercial photography (and vice versa). 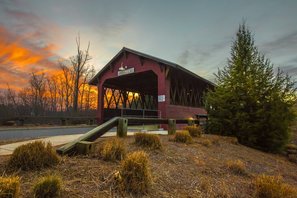 So here's my point: As a photographer, don't limit yourself to one style of photography. You will miss out on many opportunities to capture beautiful scenes and moments. And you will miss out on experience that will make you better at other types of photography. And as someone looking to hire a photographer, don't underestimate the generalists, because they tend to have more creative ideas for your photos and can work in many different situations to get fantastic images for you. Be sure to let me know your thoughts on this subject in the comments section! - Brant  Brant Waldeck is a professional photographer and cinematographer living and working in the Charlotte area. While there are hundreds of people with iPhones shooting photos at your event, most of there pictures won't compare to the feeling and style conveyed by professionally photographed imagery. I love shooting at events because it tests your skills as a photographer. You aren't controlling the light. You aren't posing the subject(s). And you have to know your camera well to adjust for any situation and get the best shot. You are walking around trying to find elements of personality and cool natural lighting. And once you find those special moments, you are adjusting and shooting feverishly to get the best shot possible. It's like looking for hidden treasures and rushing to grab them before they disappear. Based on my experience photographing events in many different types of venues, here are 5 tips that will help make event photos top notch. 1. FIND A UNIQUE PERSPECTIVE The image above focuses on the person enjoying the show but implies the show is happening in the blurred out background. It captures a feeling while adding style to the photograph. 2. SHOOT, SHOOT, SHOOT When you're capturing of images of performers in action, you can do your best to time a shot for just the right look, but the reality is not all facial expressions look great when you're singing! Frame up a great shot and fire off 10-15 shots. Then you can select the best ones in edit. 3. BE READY FOR ACTION (e.g. fast shutter speed) When you're shooting any kind of event, there will always be some interesting activity happening that requires you to freeze motion for effect. I shoot entirely manual and adjust the elements of the exposure triangle (ISO, Shutter Speed & Aperture) according to the lighting needs, but I typically keep my shutter around 1/250 or faster for this reason. It's easy to do this for daylight events, but for indoor or night time events, be sure to have a fast lens and a camera with decent high ISO capability. 4. DON'T FORGET THE CROWD Event promoters that pay you to capture images want people to know that lots of people came to their event and had fun. Be sure to capture images of the crowd enjoying themselves. 5. KIDS Find cute kids (or pets) doing cute things and snap away! People love cute kid pictures (or so says the internet). I hope these tips will help you take great photos at your next event, and as always, feel free to comment and share your thoughts! 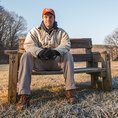 Brant Waldeck is a professional photographer and cinematographer living and working in the Charlotte area. For many photographers, flash photography can be a bit unnerving. If you do it incorrectly, the shots don't look good, and once you figure out how to correctly meter your shots, there are still a lot of other things to worry about: light placement, light modifiers, multiple lights, colored gels, and the list goes on. As a student of light shaping, I strive to learn something new about lighting every day, and I don't always get thins right on the first try, but that's OK. Art of any genre takes time, patience and practice. And when you do get it right, it's a great feeling! If you're thinking of getting into flash photography, the best thing you can do is start doing it. You can start simple with speed lights and basic soft box modifiers. You can achieve quite a bit with a this setup and some creative thinking. Then as you get more comfortable with light, and hopefully start getting paid to do flash photography, you can upgrade to monoblocks and and multiple modifiers. I've only been studying and practicing flash photography for about a year, and here are some shots I've been able to capture trying various lighting techniques. OUTDOOR FLASH PHOTOGRAPHY One light and a wide angle lens can add some drama to any outdoor scene. Without the light, the sky in the image below would have been way too bright. With the light, I could lower my camera exposure to show the beautiful sky and add light to the subject as well, balancing out the exposure. Note that I always shoot RAW for flash photography so I have latitude in post processing. In the next photo, I used a key light with a beauty dish modifier shot from a slight angle to the left and pointing down from slightly higher than the model's head. On the right side, I used a second flash to add some subtle light to her dark hair. And lastly, I used a reflector to reflect some of the key light and add some fill under her chin. While this is a slightly more complex lighting setup, it's simple to do and used quite a bit. Once you've tried it a couple of times, you'll feel comfortable with it. For the next photo, I used the sun as a backlight, but needed to use a flash to match the front exposure to the sun. As you can tell by the tree shadows, the sun was behind the model and slightly off to camera left, so I countered it with a large rectanglular soft box to the right and front of the model. I used a silver reflector as a fill light from the left to reduce the shadows a bit on the right side of her face. Incidentally, the blurred edges of this photo were created by cutting the bottom of a plastic bag and placing it over the lens like a sleeve. A portion of the bag hung out into the camera's field of view, and since I was using a 50mm f/1.4 lens, I was able to make it look like an out of focus blur. It's a cool trick and really cheap to do! INDOOR FLASH PHOTOGRAPHY The same principles apply with indoor photography...you're just not competing with something as bright as the sun. This gives you more control over the scene. You can choose to leave on lighting in the room or you might want to turn all of it off. You can position your subject near a window to make use of ambient light as a fill light or you may want to close the blinds so that light doesn't effect your shot. The important point is that you have full control to choose the look you want. For the photo below, I turned off most of the lights in the room, and the ones that remained on had no effect on the image because my flashes overpowered them. I used two continuous lights with pink and orange gels to keep light on the stage and back wall. I also put an almost impreceptible haze in the room with a fog machine. You only notice it if it's not there! For the model, I used a large rectangular softbox key light to get a nice soft light on her for the full body shot. I used a silver reflector to bounce some fill light from the left and another flash as a hair/edge light to add some dramatic feel to the shot. For the next shot, I used two continuous lights with pink and purple colored gels to light the white painted brick wall in the background. A little bit of this color spilled onto the model as well. Note: This could be done with additional flashes, but I only have two of them, so i used them to light the model. The model was key lit with a small beauty dish from a 45-degree angle above and directly at her face. Fill light was added from directly in front and below her with a silver reflector. And lastly, a hair light with a grid to funnel the light in a tighter pattern was placed on the right and slightly behind her. Using colored gels and this standard beauty lighting setup, I was able to create a cool shot on an otherwise boring white painted brick background. The next shot was a fun one! I used a fog machine to create a smokey effect, and lit the musician with two opposing flashes. from the left and right sides. Both flashes had small parabolic dishes with grids to focus the light, but no modifiers to soften the light This allowed me to create dramatic hard edged lighting with deeper shadows. I also used a gold reflector on the floor in front of the camera to add a slight bit of warm fill from below. The result is a dramatic, mysterious portrait. The final shot was a bit tricker and represents the latest destination on my light shaping journey. This requires continuous lighting and flash to create. You'll also need a remote flash controller and a bulb controller to open and close your camera shutter. The key light was a flash with a large rectangle soft box placed on the left side at a slight angle to the front so it would light as much of the model as possible without spilling too much light on the background (Any background spill was removed in Photoshop). A second flash with a grid was added on the right side light her hair and arms slightly. This was a harder light to give a more dramatic feel. I didn't want it to wrap around the side of her face too much. These two flashes froze the image of the dancer near the apex of her jump. A third continuous light was placed on the right side by the fill/hair light. This continuous light had a small rectangular soft box on it to cast a soft light on her back. It served as a bit of a fill light, but more importantly, it was necessary to create the motion trail. portion of the photo. To capture this image I opened the shutter as the dancer started her move, then popped the flash as she hit the apex of her jump and closed the shutter directly after popping the flash to get as little of a motion trail in front of her as possible. This is tricky and requires multiple attempts to get it right, but the images you can create are fantastic! So that's where I am on my light shaping journey after one year. I hope this inspires you to stretch your abilities and continually seek out opportunities to create beautiful images! -Brant Brant Waldeck is a next level cinematographer and photographer living and working near Charlotte, North Carolina.
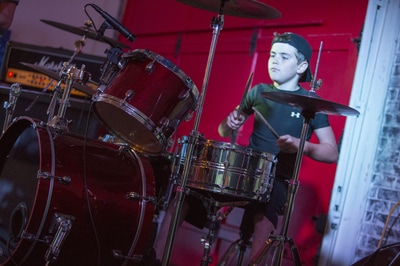
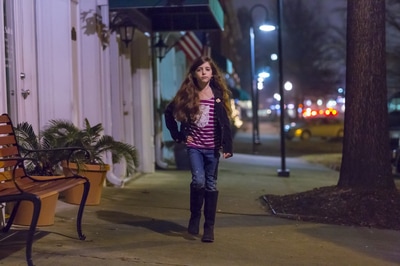
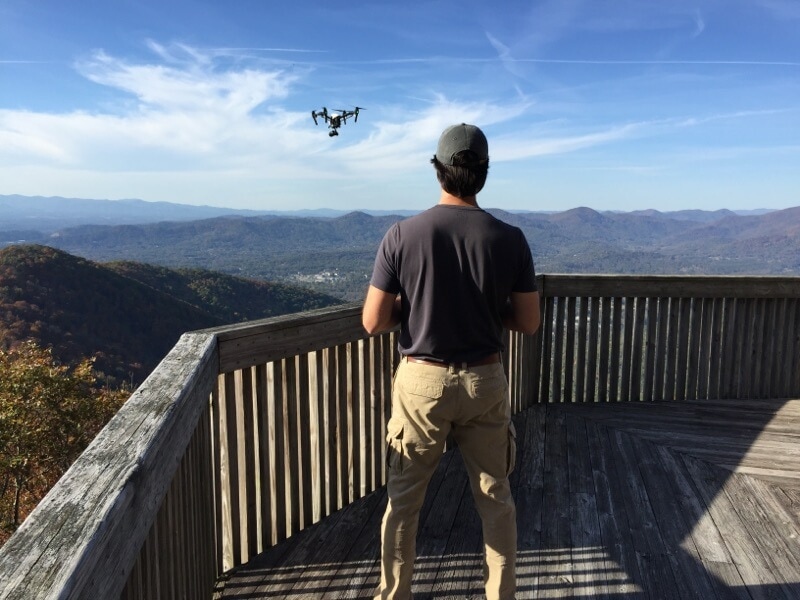
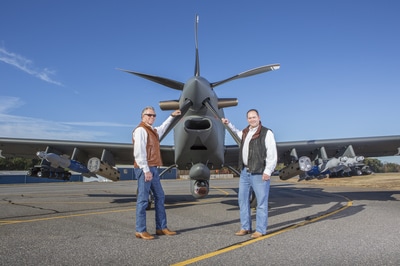
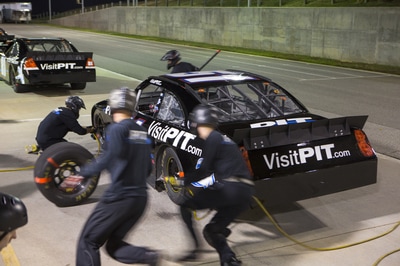
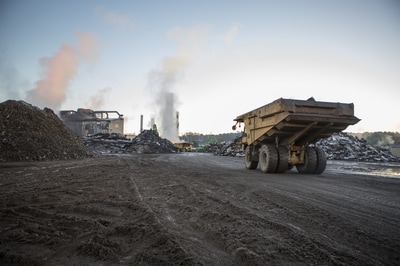
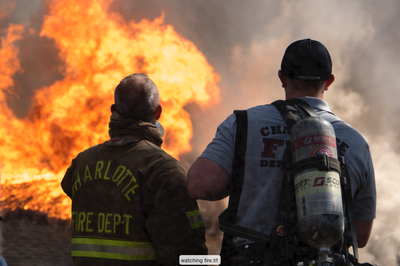
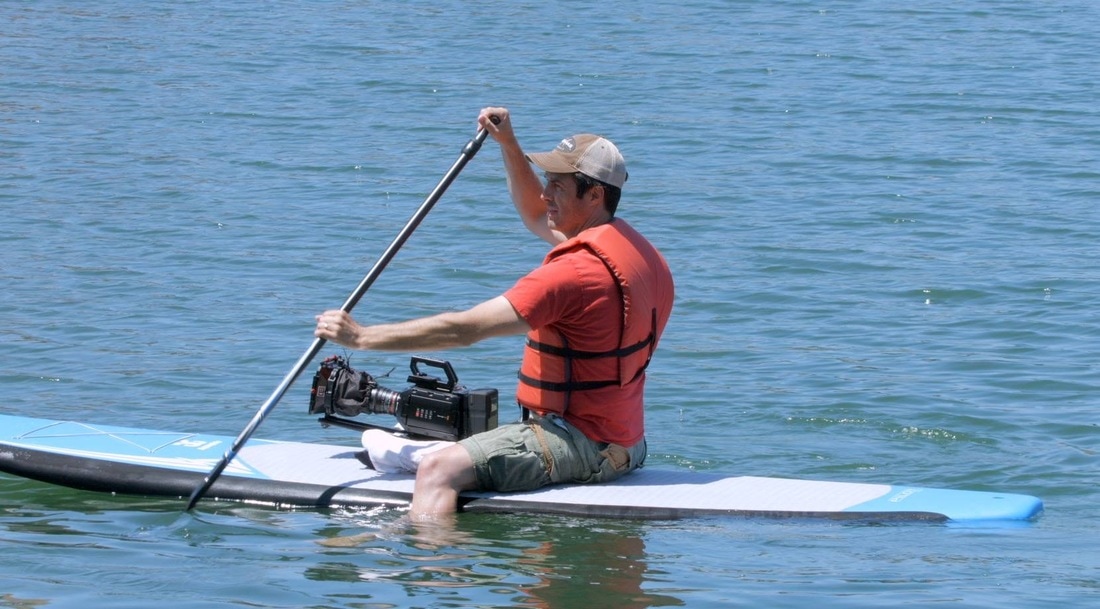
As we get older, we tend to become more serious about life due to financial obligations, parental duties, etc. We define our lives by the career paths we've chosen and feel that it would be a little foolish and not financially viable to make a change at this point in our lives. And we feel all this despite the fact that we have other dreams and aspirations that go unfulfilled. "Dreams are for young people without anything to tie them down," we say. "I have too much to lose if I fail." Well, as a 45-year old father of three, I can tell you that all of this is true...in your own mind. In reality, however, it just isn't the case. People in your life want you to be happy. They want you to succeed at something you love. And all people love to see risk takers make a go of it. You'd be surprised how much your friends and loved ones will be willing to help and sacrifice to see you reach your dreams, and in turn, you'll inspire others to do the same. Two years ago, I started a journey to become a cinematographer, photographer and digital artist, and I've certainly seen my share of ups and downs financially and emotionally, but the journey continues despite the setbacks. Why? Because being happy isn't always about succeeding. Sometimes it's about failing, learning and trying again. It's about realizing your potential and doing something that you truly love. Have I hit the jackpot with my endeavors yet? Nope. But that's OK. It's not about that. Yes, that's right, I said, "It's not about getting rich!" It's about pushing yourself out of your comfort zone and discovering what you're truly capable of. It's about the thrill of trying new things and finding a way to make a living doing it. And, if you persist and focus on continuously getting better at your craft, you might find someone willing to pay you a lot of money to do it. If not, so be it. You're making a living doing something you love! If it doesn't afford you the biggest house or newest, nicest cars, who cares? That doesn't matter. Your perspective is so different when you wake up in the morning and realize that people pay you to do something you think is fun! I've been fortunate to have great clients and friends that I've worked with over the years, who believe in me. And my wife and kids have been nothing but supportive, making suggestions, helping on shoots, and in the case of my oldest son, making it his life's ambition to work in film. My younger son was introduced to music through some of the work I've done with musicians and local events, and now he plays the drum set like a beast. My daughter is very creative and wants to be a model. So as you can see, my journey is having an amazing effect on my kids' lives, too! So two years into it, here are some cool things I've been able to do: Became a certified drone pilot to shoot aerial video and photos - At this point, I could take flight lessons and get a recreational pilot's license...it's not easy to pass the commercial drone pilot test! Shoot photos of war planes, pit crews, molten steel, and lots of other badass guy stuff - absolutely love getting to film/photograph cool stuff! Create a short film with some amazing parkour athletes - Check it out. Work on a film festival comedy short film with some great young creative people - As an "old" guy, it was great to work with young creative people that have such passion and idealism for the craft. It's motivational. Shoot model portfolio photos - this type of photography really pushes you to try new ways of lighting and artistic ideas, but it was also way out of my comfort zone. I'm expected to know how to make the model look their best and bring creative ideas to the table. Shoot photos and video of firefighters at controlled burns and firefighter training centers - Can't say enough about firefighters...haven't met one yet that I didn't like. Shoot video 175 feet up under the Oakland Bay Bridge Shoot video in giant tunnel under construction Create a moving mini-documentary about my son with cerebral palsy - Watch it here. Travel to Vancouver, Toronto, Seattle, Denver, Tuscaloosa, Kansas City, and Mississippi to shoot video - It's not easy to travel with a bunch of gear, but getting paid to do it makes it worth my while! Shoot video from a paddle board - way out of my comfort zone, but I got the shot! Shoot aerial video of a wake surfer over Lake Norman - 10 feet off the water and half a mile off shore - also out of my comfort zone, but it was worth it. Check out the final video. Shoot my first band promo video - Turned out great! Check it out! And I'm going to be shooting a rap video soon with a talented up and coming artist with big vision - I'll have to channel my high school/college self for this project. :) I'm probably forgetting some things, but as you can see, a lot has happened because I went looking for it and wasn't afraid to try something new. Each new endeavor builds confidence for the next one, and with all of the great "how to" info on the Internet, you can literally become an expert by watching videos, reading articles and getting out there and doing it! If you truly have a passion and an aptitude for something, don't look back and regret that you never tried it. Figure out a way to make it happen. - Brant
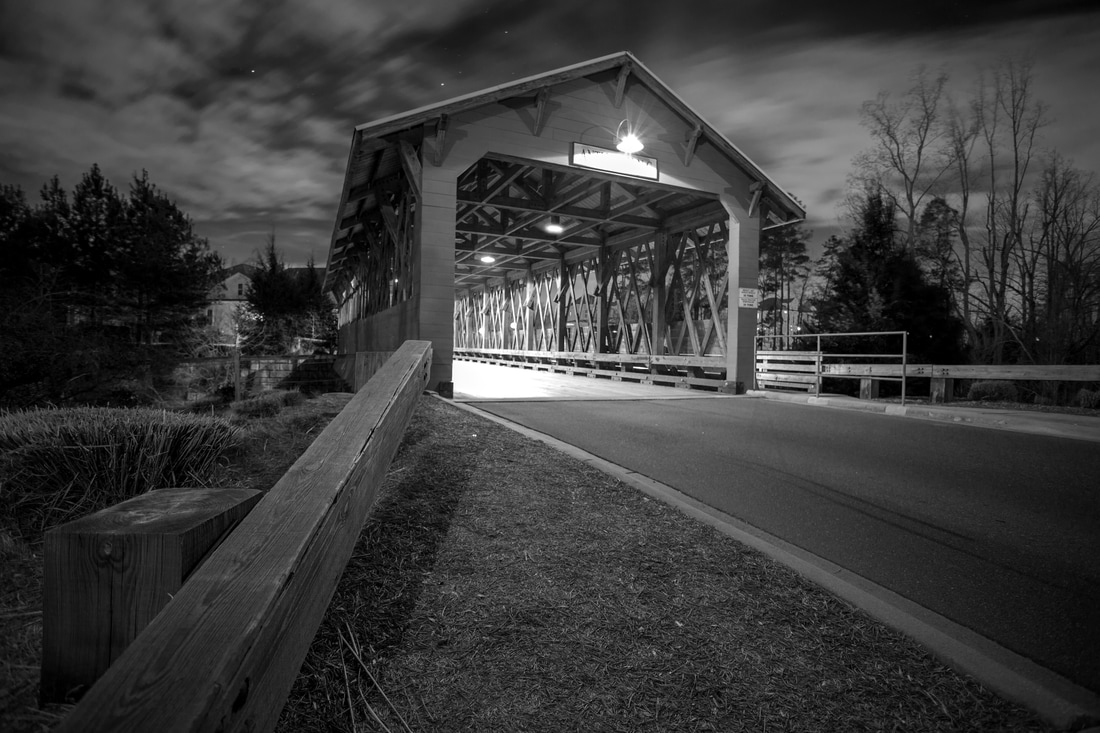
Most DSLRs have the ability to capture exposures up to 30 seconds without any additional equipment. In a lot of cases, trying to do that long of an exposure can result in an overblown image, but if you pick up an ND filter (sunglasses for your camera) and learn a few tricks, you can use long exposure to create some amazing shots - day or night! To do this properly, you have to use a sturdy tripod, because even the slightest camera shake becomes very noticeable in long exposure. You should also set your camera on timer mode. I use the 2-second timer for most shots. This allows you to press the shutter button and then completely remove your hands from the camera so it doesn't shake. If I want to get in the shot (like you'll see in some of the examples below), I use the 10-second timer. This gives me time to move into the frame before the shutter opens. Here are some ideas for you to try. LIGHT UP THE NIGHT Long exposure is a great way to make the most out of available light at night. It's truly amazing what a small amount of light can do to a night scene. The image above was taken during a full moon, which gave fantastic light to the clouds. And beyond the relatively dim lights on the bridge, no other lights were used to capture this shot. Camera Settings
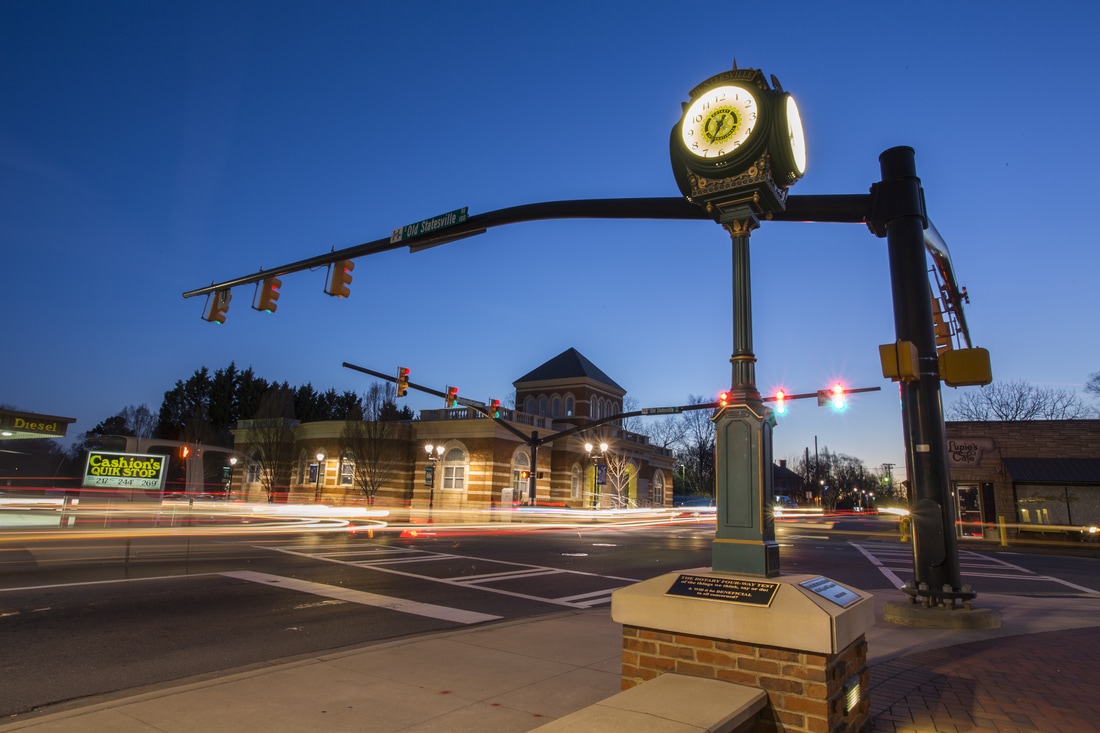
LIGHT TRAILS! One really cool byproduct of long exposure is light trails. In this shot, I timed my exposure to capture cars moving through the intersection, and in this case, I blended multiple exposures together in Photoshop to combine multiple light trails (Google "image stacking" to learn more about that). Beyond moving vehicles, you can really get creative with light trails...just waving a flashlight around or holding up your iPhone and moving it in a pattern will produce interesting results. Camera Settings
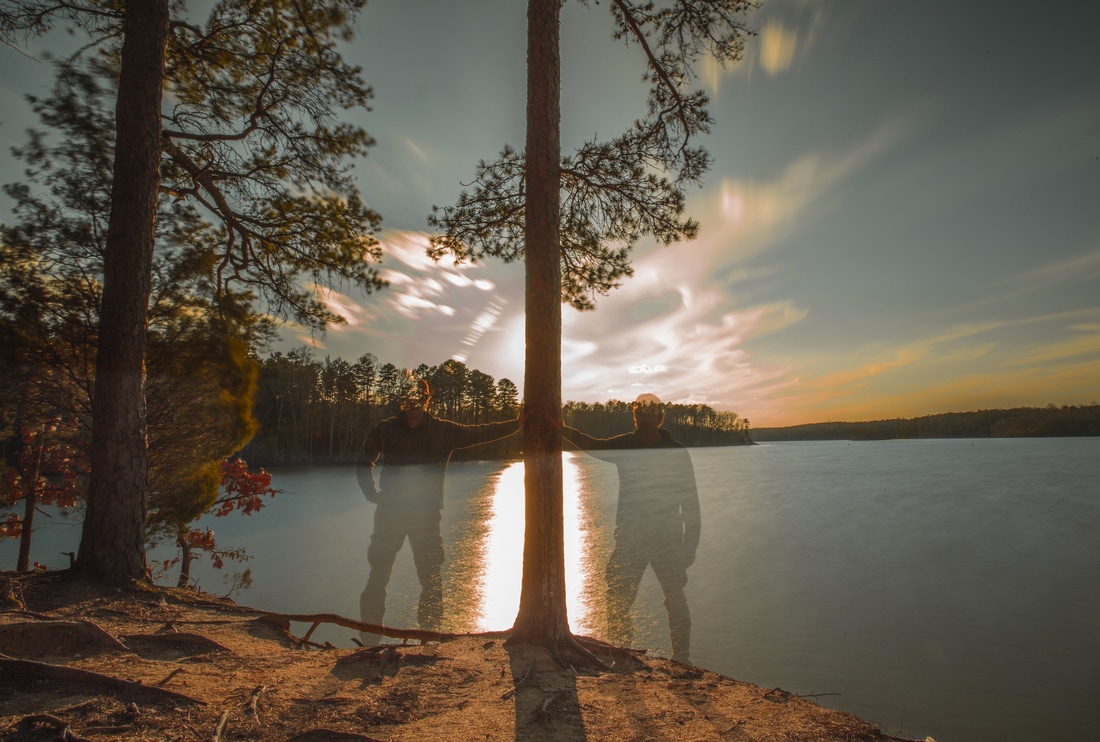
CREATE GHOSTS! One very cool attribute of long exposure is that the only things that look solid are those items that remain in the exposure the entire time, unless it's a bright light. That's why cars leave light trails, but you don't really see the car unless it stops...and even then, the car is see-through. For this image I took advantage of that unique property of long exposure and made two "ghosts" of myself in one image. Using a 25-second exposure and a 10-second timer, I pressed the shutter button and ran to the first spot to the left of the tree. After I heard the shutter open, I counted to 10 and moved over to the other side of the tree. Then I held my pose and counted to 10 again. Before the shutter closed, I ran back behind the camera. Those times are flexible and will dictate how "see-through" you are. And remember as you experiment with this, be ready for onlookers to think you're crazy as you run to different places and look at your camera! NOTE: For this shot, I was pointed directly at the sun, so I had to use dark ND filter. Mine is a Tiffen Pro100 10-stop ND, so it's really dark. There are other great ND filters out there, but I would recommend avoiding variable ND filters for long exposure. At their darkest point, they tend to create weird X patterns or vignetting. Camera Settings
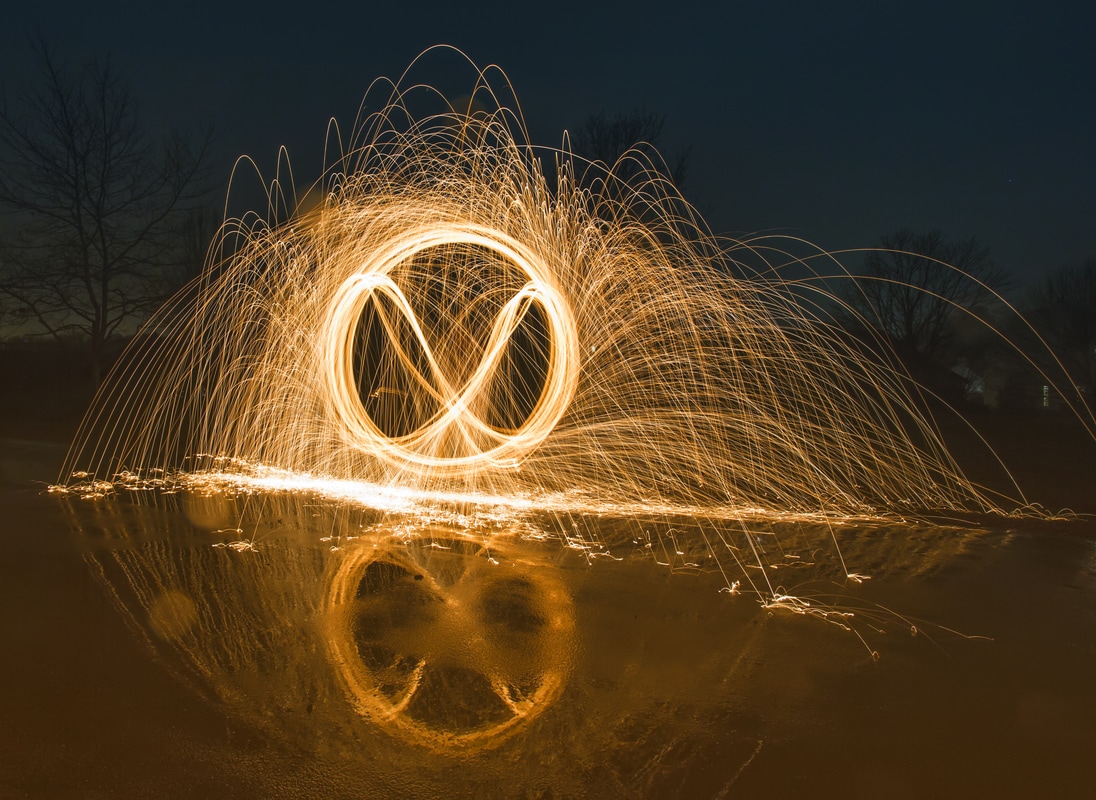
SPARK YOUR IMAGINATION This is one of the really cool techniques for lighting up a pitch dark night. Buy some steel wool, attach a piece of it to a wire (or something else that can handle being hot), touch the steel wool with a 9-volt battery to start it burning, have someone press the shutter button, and start swinging the steel wool. You can do similar shots with sparklers. For this shot, I purposely chose a wet parking lot for a couple of reasons: 1. The burning steel wool will put itself out when it hits the wet ground, and 2. It creates a reflection of the sparks. Note that you shouldn't do this on dry grass or in the woods, because you can inadvertently start a fire. Camera Settings
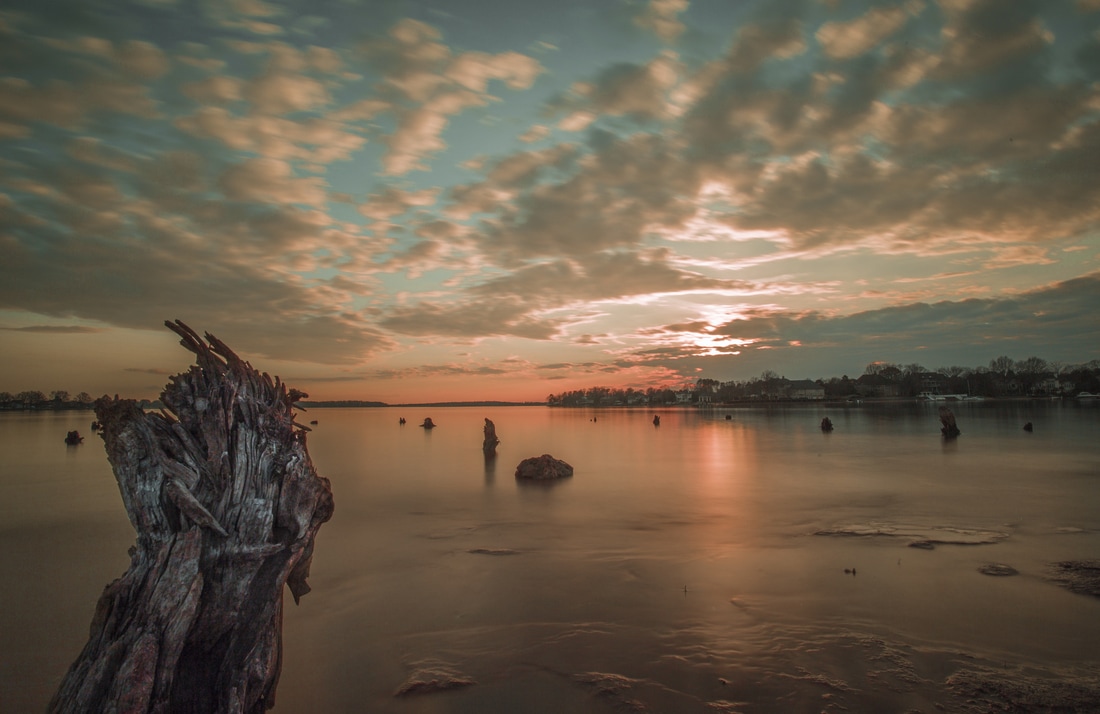
SMOOTH THE WATERS Another really cool effect that comes from long exposures is the smoothing of water in lakes, oceans, rivers or waterfalls. Even with choppy water, the effect is quite stunning. These shots look best with stationary objects in the foreground and some clouds in the sky to show dramatic movement. Camera Settings
This type of photography takes practice and a lot of trial and error. And your shots turn out best if you have the ability to do some post-processing via Adobe Lightroom or Adobe Photoshop. That's not to say I haven't captured some amazing images directly in the camera, but because you are typically dealing with a wide range of light from pure darkness to bright lights, it helps to be able to adjust the images for maximum effect. I hope this article inspires you to get out there and create. Cameras are amazing tools when you use them to their fullest potential! - Brant Brant Waldeck is a next level cinematographer, photographer and graphic designer living in the Charlotte, NC area.
Everyone wants to create a video that will "go viral", but the truth is, the odds are against you. From a search engine standpoint, it's much better to have content being released on a regular basis. It's also better for potential customers and clients to see you as the expert, and there's no better medium than video to bring your story to life. Releasing and promoting (FB ad, Instagram promo, etc.) a new video about your product or service once a month or even once a week is a great way to drive traffic to your web site and social media pages.
So you might be saying, Brant, are you crazy! I can't afford to produce one video a week! And you're right, I am a little crazy, but there's a method to my madness. If you tried to write, shoot, and edit each video individually, then the benefit would not justify the cost. However, there's a much more cost effective way to approach it...TESTIMONIALS. Think about this...you can line up 8-10 happy customers/clients and interview them for 20 minutes each. Ask questions that guide the discussion to the key benefits that you want to promote. Start broad and gradually narrow the scope. For example:
With all of these questions, you need to be sure that the interviewee repeats the question back to you. For example: [Product name] changes the way I work because it cuts my workflow time in half. You also need to be sure that they say it in their own words, don't tell them what to say. You want the viewer to see someone talking truthfully and naturally about your product, not scripted. A good interviewer will know how to guide the interviewee toward brand benefits without putting words into their mouth. Depending on the geography of your customers, you can sometimes go through all of the interviews in a day. If you have to travel a bit, it might take a week or two, but when you're finished, you have a treasure trove of social media gold! The next step is to slice and dice the footage into 30-second to 90-second (sometimes a little longer if needed) clips that you can release over time. So here's the math on how many clips a good video producer/editor can generate from 10 interviews that asked 4 benefit driven questions.
Here's an example of a video we produced for Scott Safety. We utilized the comments of customers to tell a compelling story about the benefits of their new Scott Sight mask with a thermal camera built in.
So with one set of customer/client interviews, YOU NOW HAVE 55+ VIDEOS TO USE THROUGHOUT THE YEAR. And the process, including editing, can be completed within a couple of months. Once a week doesn't sound so crazy now, does it. :) The other element that can add some additional pop to your testimonial videos (although it's not absolutely necessary), is b-roll. B-roll is footage of your product in use or your teammates helping a client or demonstrating your product. It's best to start editing your interviews first, then make a list of potential b-roll needed. That will allow you to efficiently schedule a shoot or two to capture what you need. Here's an example of a testimonial for the same client that features one interviewee and utilizes b-roll to help tell the story. So don't miss out on the ability to bring your brand to life by leveraging your customer's passion for you product/service. It takes some organizing, but in the end, you have more content than you'd ever imagined...and you might learn something new about how customers view your brand! - Brant
Brant Waldeck, owner of My Creative Team, is a North Carolina-based cinematographer, photographer and creative guy who lives to create and help clients tell compelling stories about their brands.
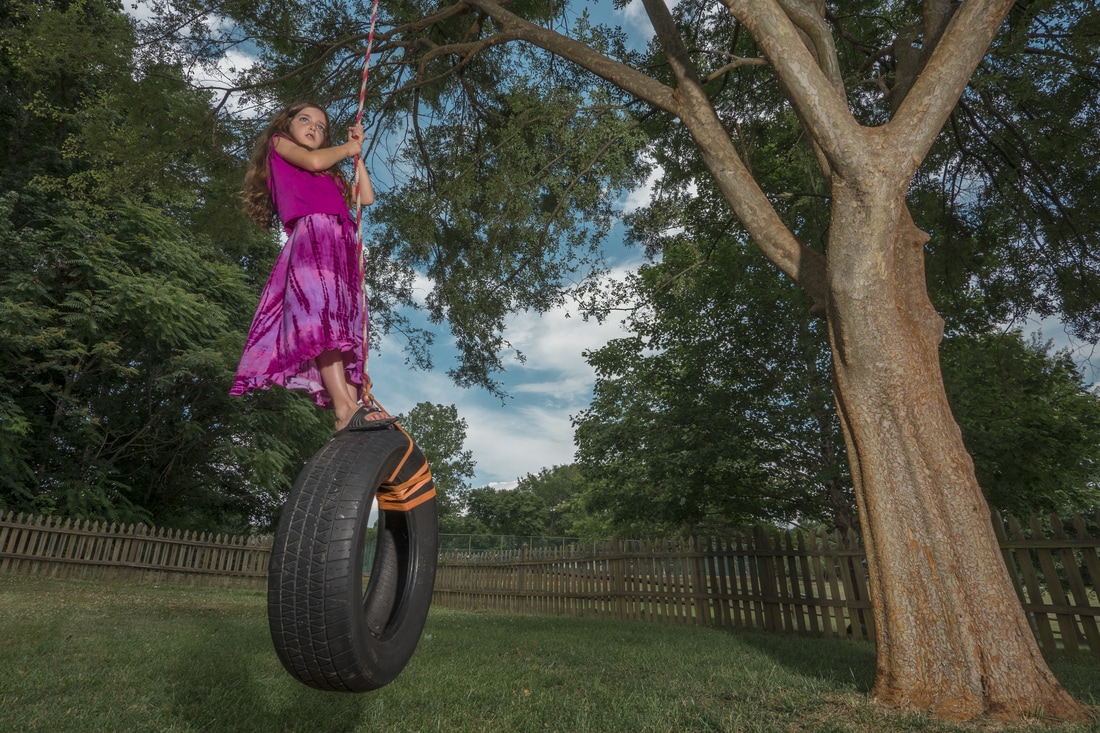
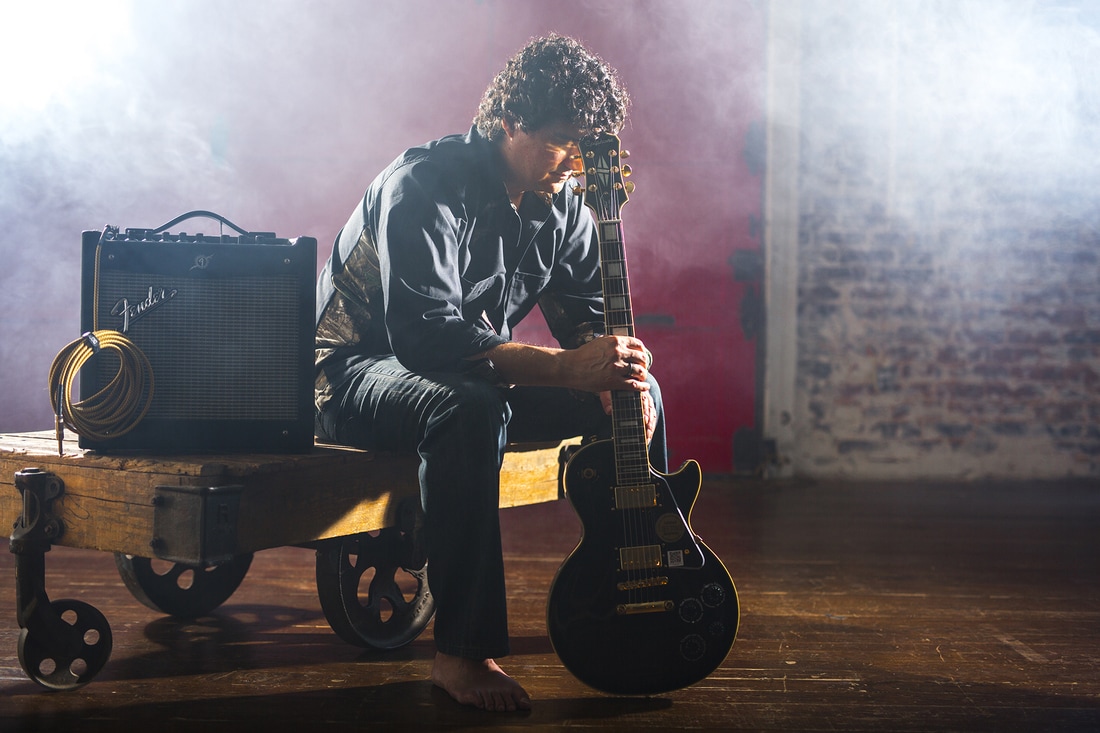
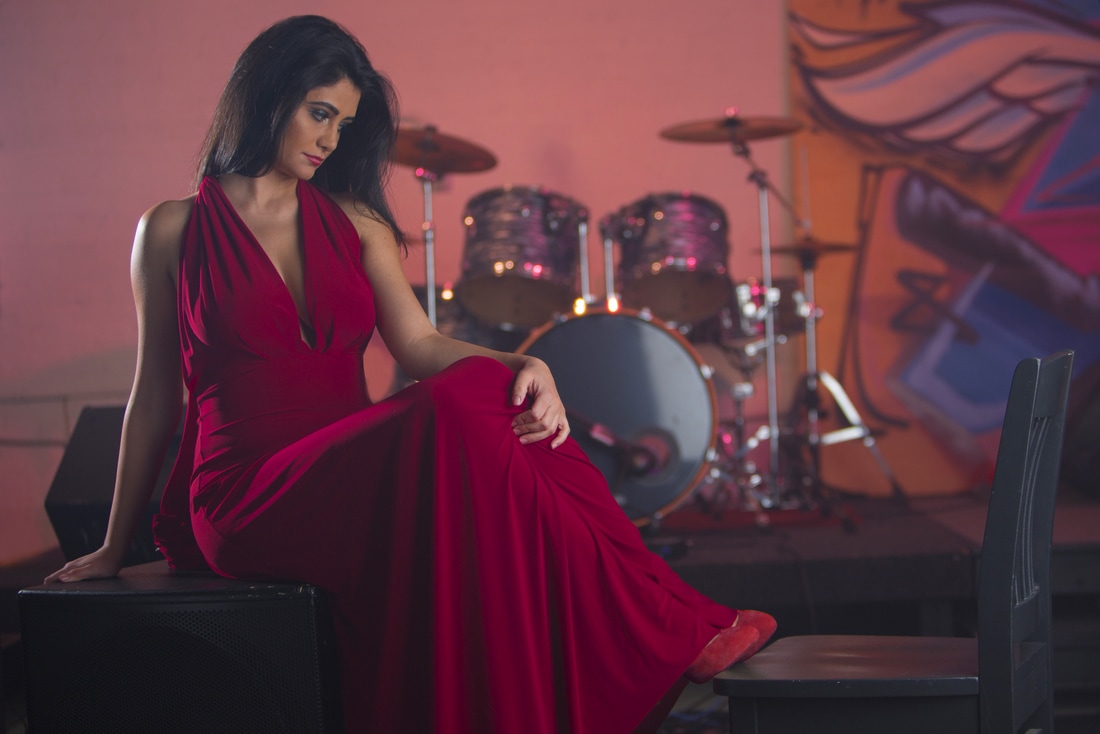
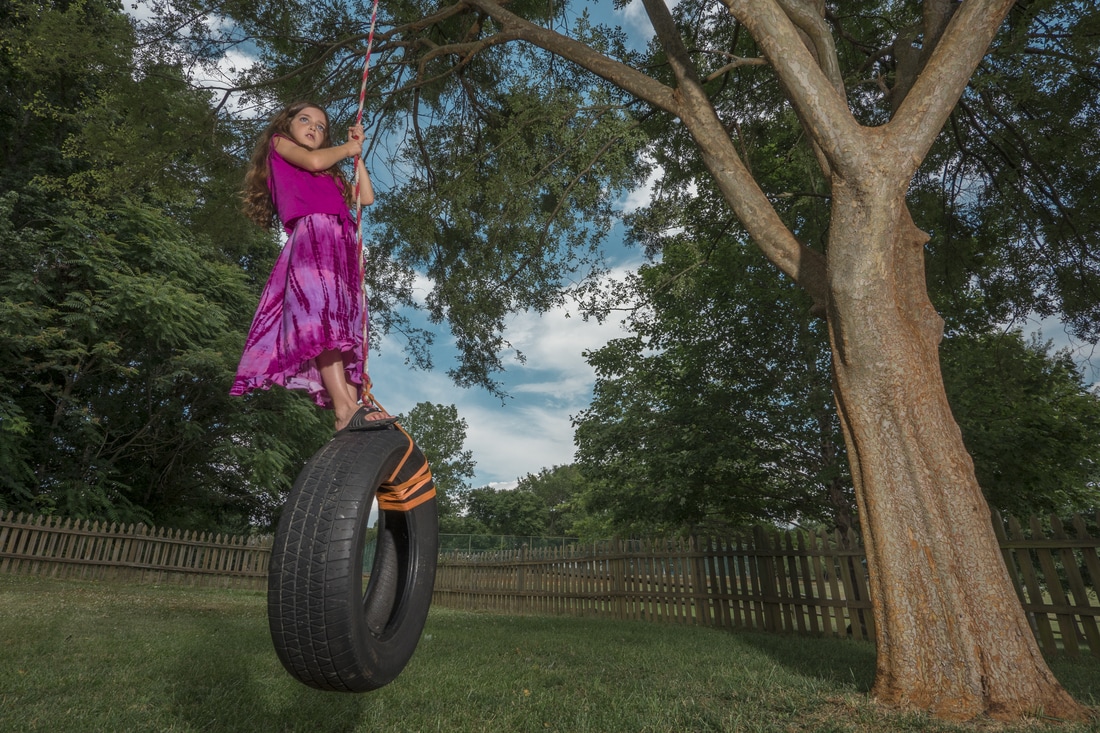
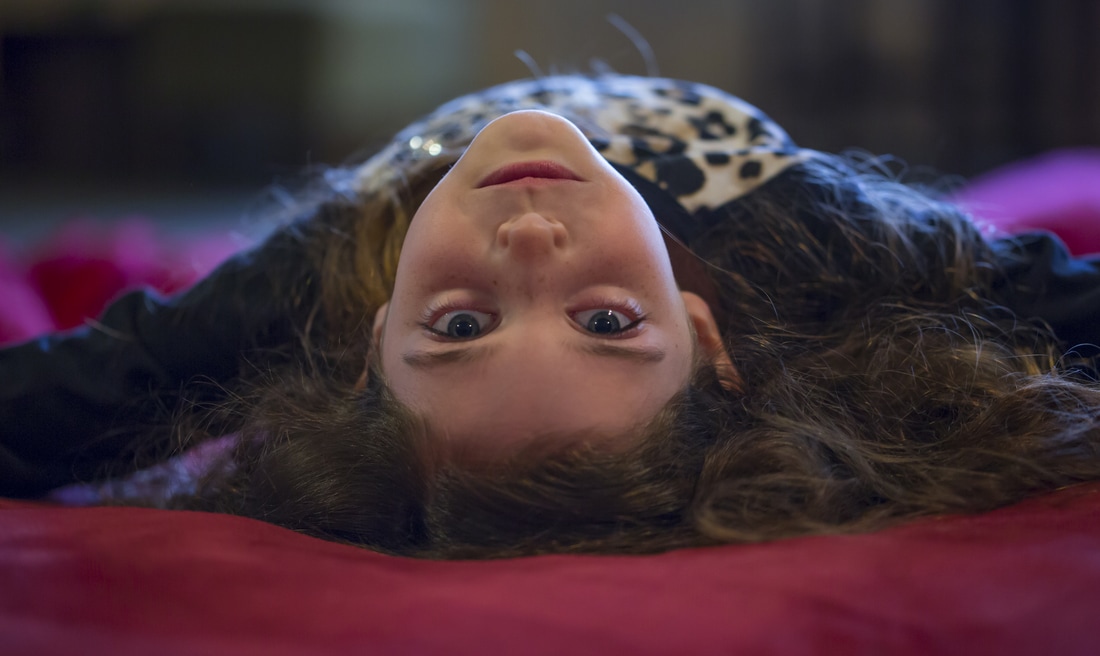
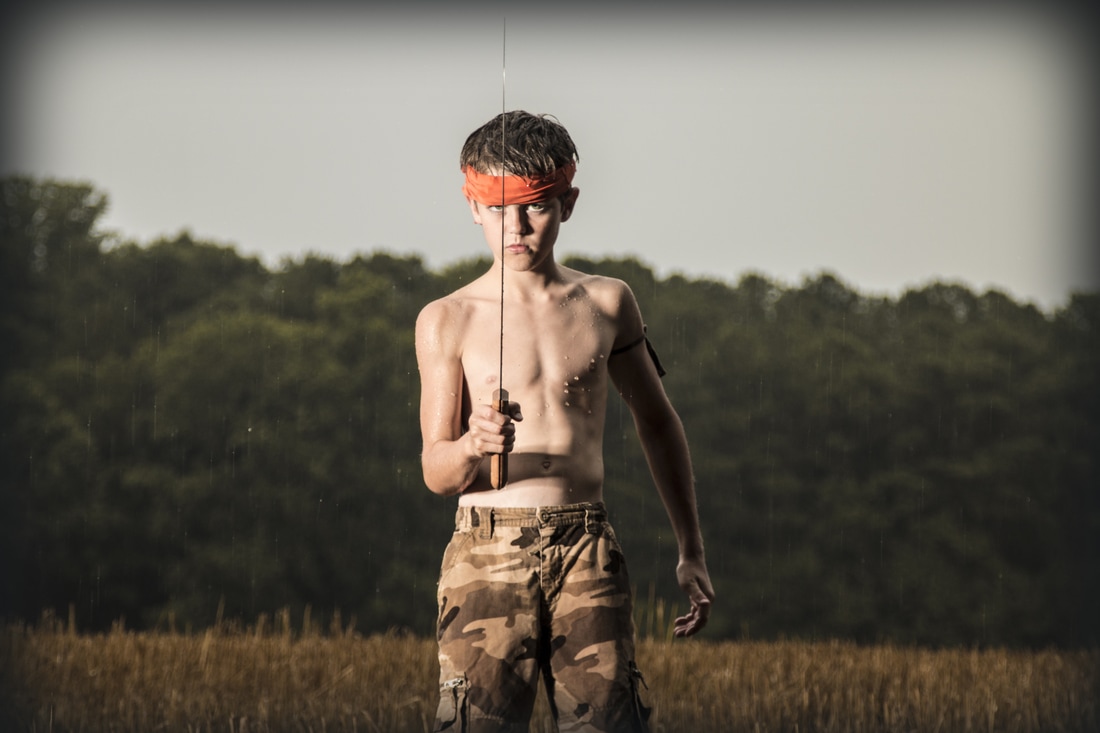
When we think of traditional family portraits or head shots, we tend to think of posed shots of people in a studio or standing outside and smiling. While there's certainly a reason for those types of photos, as a photographer who's always in search of something new, I always strive to do more. Every person being photographed has a personality that needs to shine through. The moment your capturing has a mood that needs to be clearly portrayed in the photo. Here are some ways to capture portraits that stand out from the pack. CREATE A MOOD WITH LIGHTING The intent of this shot, depicting a musician deep in thought, was to create some mystery behind his emotion. The lighting was far from traditional portrait lighting, because we wanted a slightly edgier look that set the mysterious mood. We used a smoke machine to add ambience to the room, and posed him to slightly obscure his face. This leaves the viewer wondering just what he's thinking. MIX FORMAL WITH FUN For this shot, we had our model dressed elegantly and placed her in a small music venue that is much less formal. This juxtaposition technique makes for an compelling photograph. ADD SOME ACTION Put some movement into your photo. This image of a child on a tire swing brings energy to the portrait, and the low wide angle lets the viewer understand the entire scene. CHANGE YOUR ANGLE Not all portraits need to be taken from a traditional angle...especially with kids. They tend to be moving and playing, so get down on the floor and try a new angle! 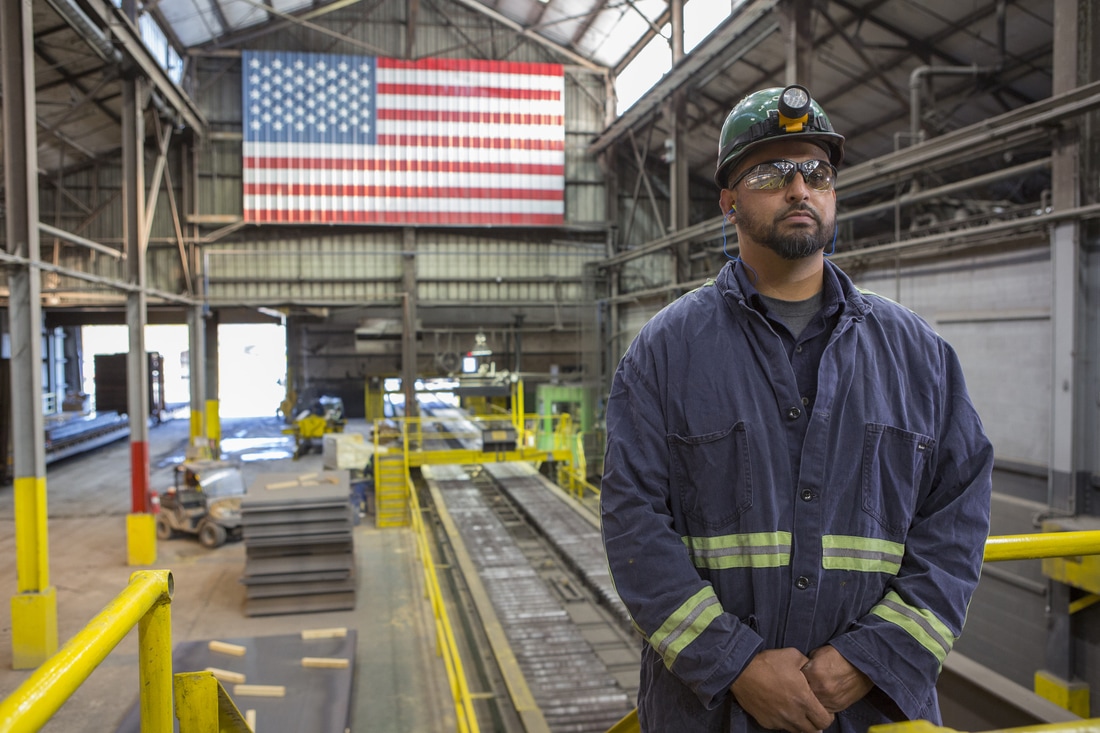 LET THE SETTING SET THE TONE In this shot of a steel mill worker, I carefully chose the setting to communicate the company's strong loyalty to the USA. What's in the background can speak volumes. Choose your setting wisely. LIVE ON THE EDGE Don't be afraid to take photos that push the limits or even make some people uncomfortable (like my wife was when she saw my son with a machete). This shot captures the free spirited, tough guy personality of my son, and it was taken by my older son, which makes me a proud papa! :) I hope this post inspires you to push your limits and try new photography techniques. It's amazing what you can create when you push past your comfort zone. - Brant Brant Waldeck is a North Carolina-based cinematographer, photographer and creative guy who lives to create.
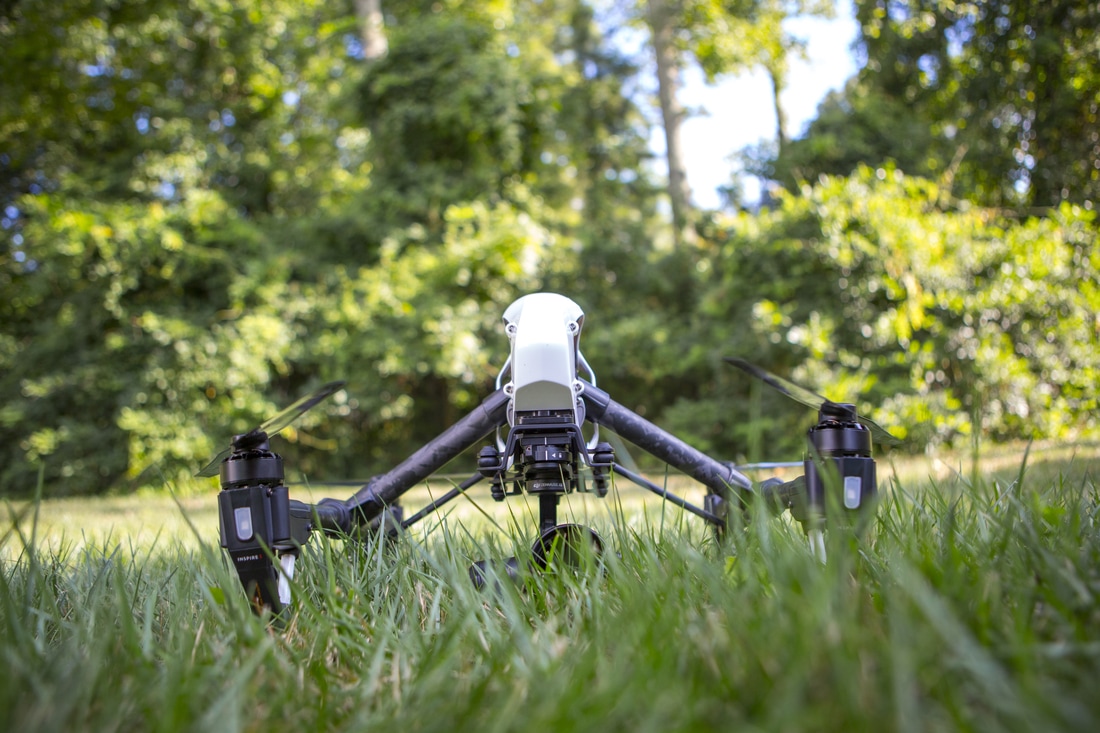 There are more and more "Drone" companies popping up to offer their services to the masses. They range from tech-oriented industrial drone services that do antenna inspections and land surveying, to your brother's kid with a high-end consumer drone that takes "nice" video. Depending on your needs and budget, you have to make a choice between doing things on the cheap or shelling out big bucks for the company with the coolest gear. As it turns out, you can find something in the middle that suits your needs just fine, but you need to use these helpful tips to get the right person behind the drone:
Brant Waldeck is a professional cinematographer, photographer and FAA certified drone pilot, whose company, My Creative Team, specializes in creative story telling for your brand. |
Archives
September 2018
Categories |

 RSS Feed