|
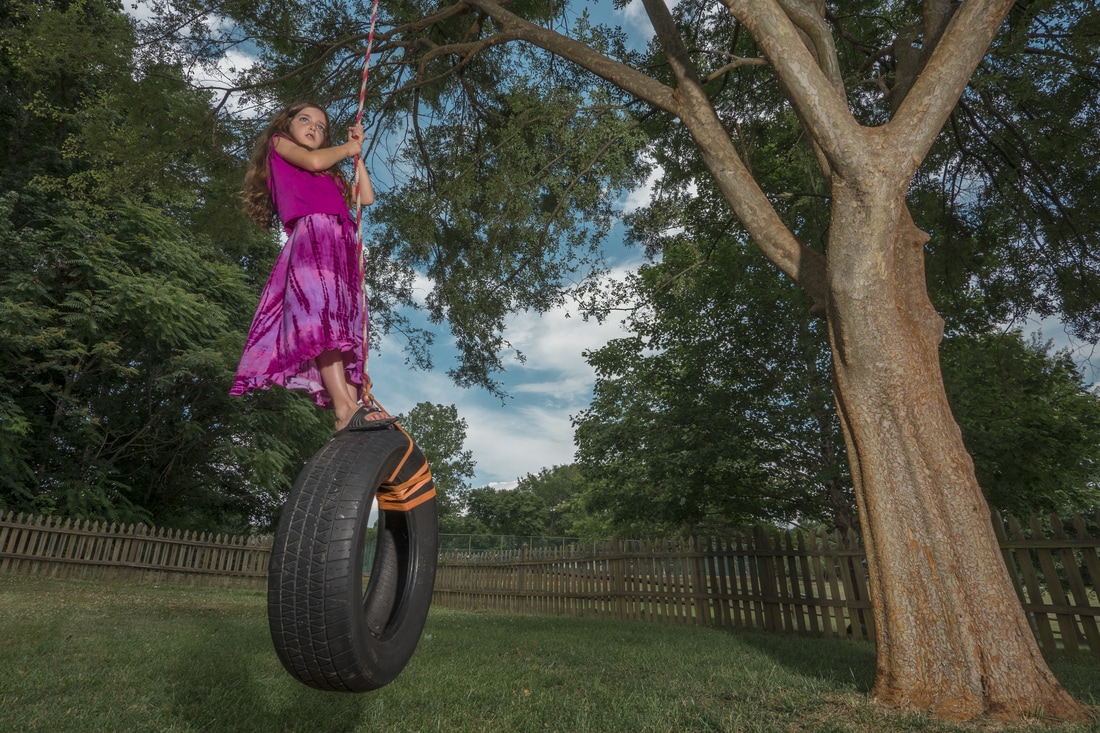
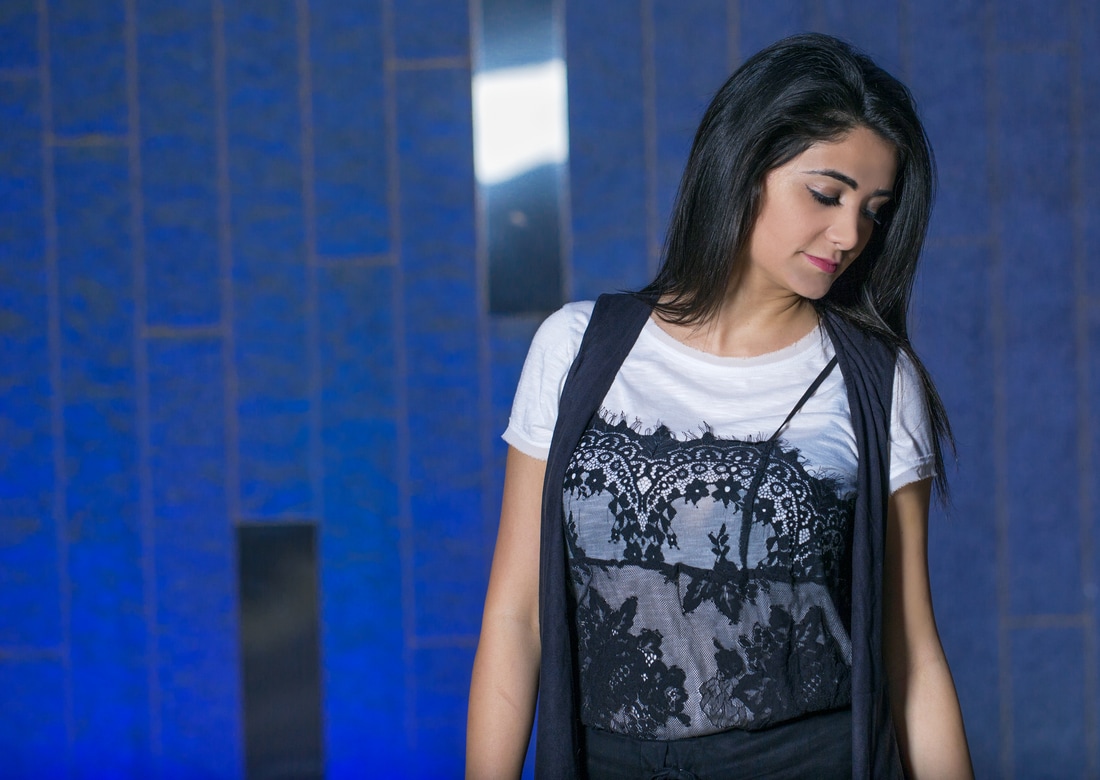
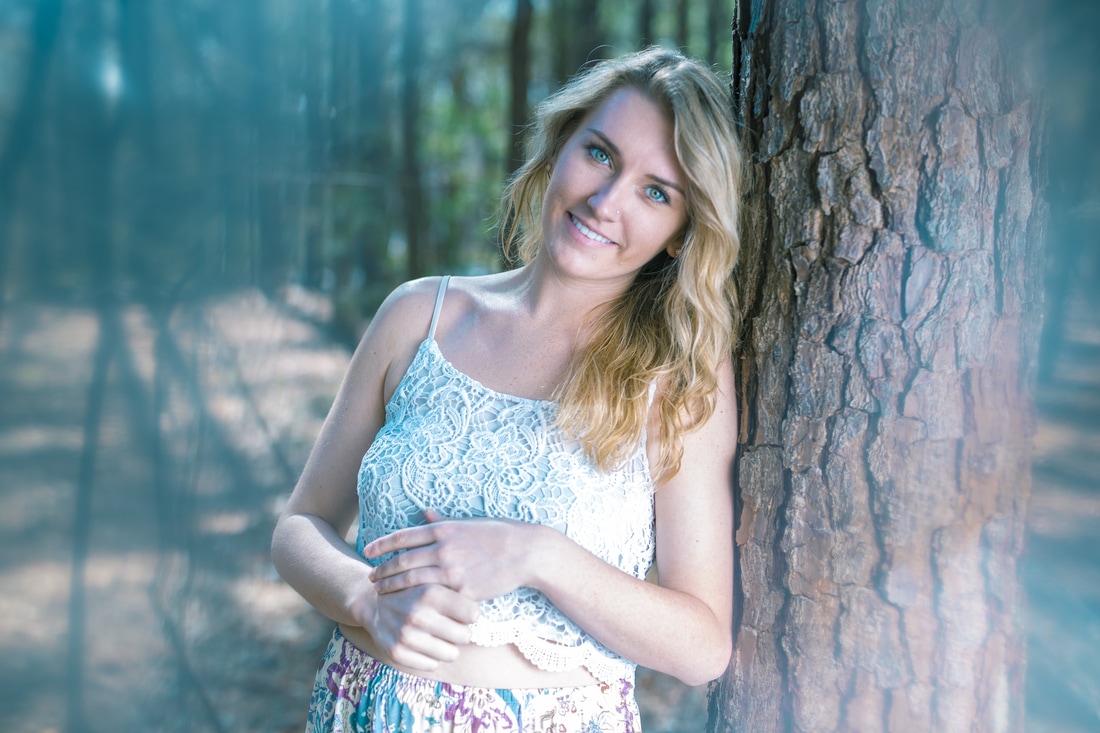
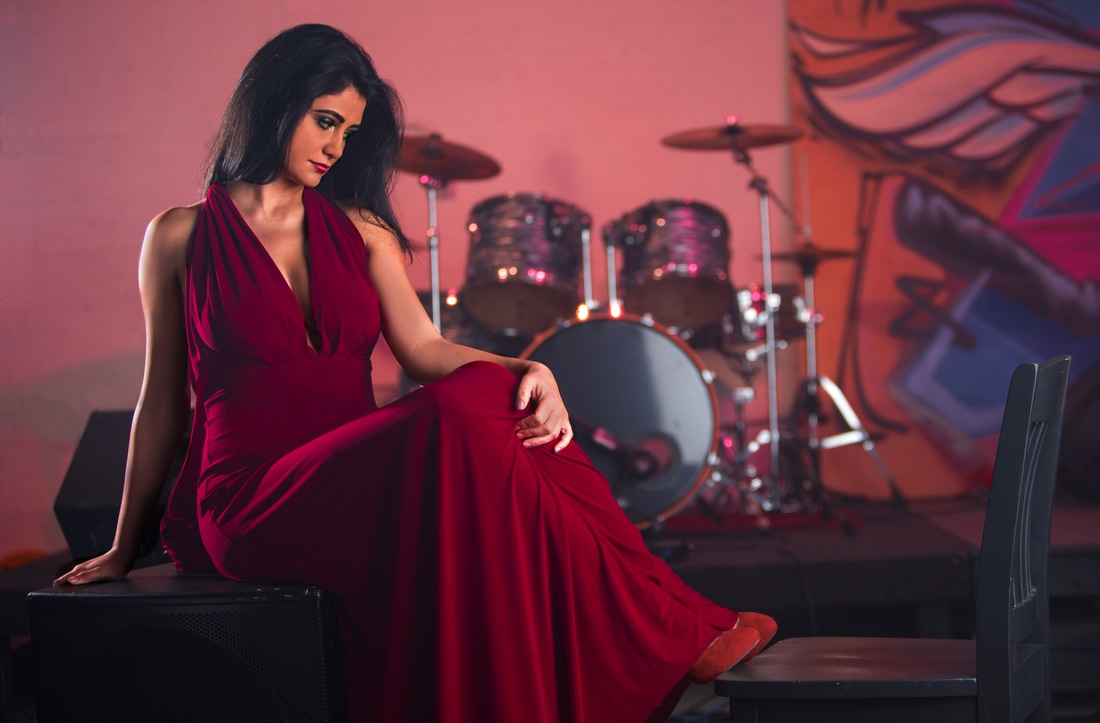
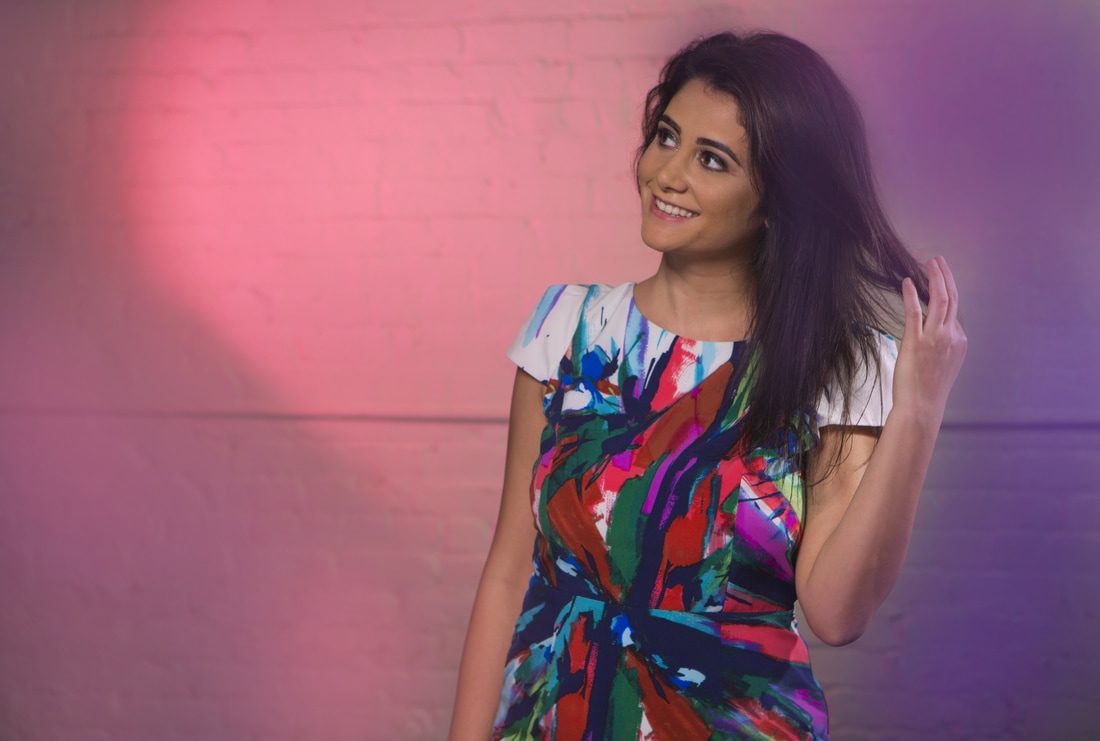
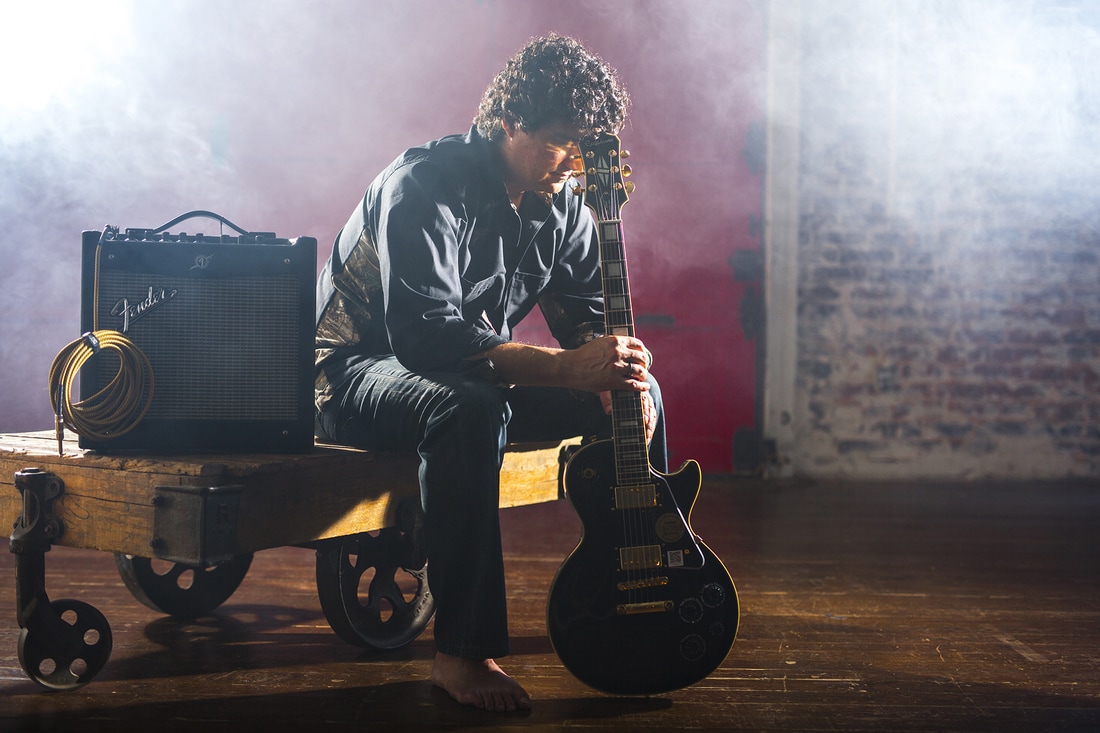
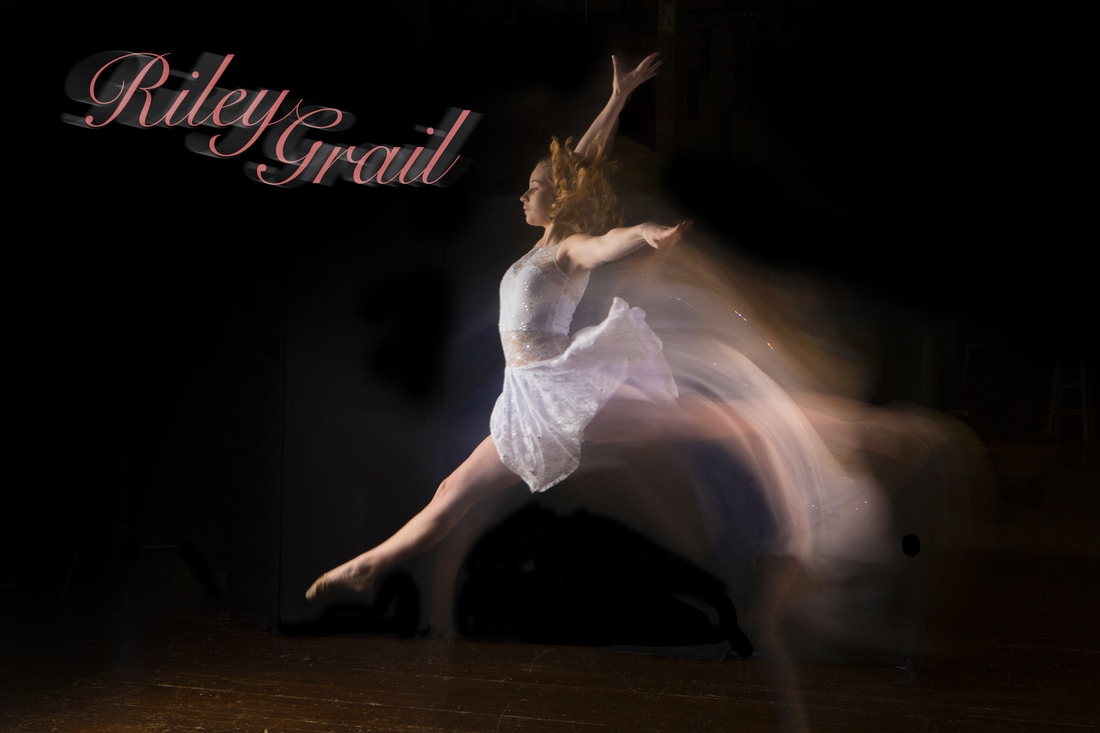
For many photographers, flash photography can be a bit unnerving. If you do it incorrectly, the shots don't look good, and once you figure out how to correctly meter your shots, there are still a lot of other things to worry about: light placement, light modifiers, multiple lights, colored gels, and the list goes on. As a student of light shaping, I strive to learn something new about lighting every day, and I don't always get thins right on the first try, but that's OK. Art of any genre takes time, patience and practice. And when you do get it right, it's a great feeling! If you're thinking of getting into flash photography, the best thing you can do is start doing it. You can start simple with speed lights and basic soft box modifiers. You can achieve quite a bit with a this setup and some creative thinking. Then as you get more comfortable with light, and hopefully start getting paid to do flash photography, you can upgrade to monoblocks and and multiple modifiers. I've only been studying and practicing flash photography for about a year, and here are some shots I've been able to capture trying various lighting techniques. OUTDOOR FLASH PHOTOGRAPHY One light and a wide angle lens can add some drama to any outdoor scene. Without the light, the sky in the image below would have been way too bright. With the light, I could lower my camera exposure to show the beautiful sky and add light to the subject as well, balancing out the exposure. Note that I always shoot RAW for flash photography so I have latitude in post processing. In the next photo, I used a key light with a beauty dish modifier shot from a slight angle to the left and pointing down from slightly higher than the model's head. On the right side, I used a second flash to add some subtle light to her dark hair. And lastly, I used a reflector to reflect some of the key light and add some fill under her chin. While this is a slightly more complex lighting setup, it's simple to do and used quite a bit. Once you've tried it a couple of times, you'll feel comfortable with it. For the next photo, I used the sun as a backlight, but needed to use a flash to match the front exposure to the sun. As you can tell by the tree shadows, the sun was behind the model and slightly off to camera left, so I countered it with a large rectanglular soft box to the right and front of the model. I used a silver reflector as a fill light from the left to reduce the shadows a bit on the right side of her face. Incidentally, the blurred edges of this photo were created by cutting the bottom of a plastic bag and placing it over the lens like a sleeve. A portion of the bag hung out into the camera's field of view, and since I was using a 50mm f/1.4 lens, I was able to make it look like an out of focus blur. It's a cool trick and really cheap to do! INDOOR FLASH PHOTOGRAPHY The same principles apply with indoor photography...you're just not competing with something as bright as the sun. This gives you more control over the scene. You can choose to leave on lighting in the room or you might want to turn all of it off. You can position your subject near a window to make use of ambient light as a fill light or you may want to close the blinds so that light doesn't effect your shot. The important point is that you have full control to choose the look you want. For the photo below, I turned off most of the lights in the room, and the ones that remained on had no effect on the image because my flashes overpowered them. I used two continuous lights with pink and orange gels to keep light on the stage and back wall. I also put an almost impreceptible haze in the room with a fog machine. You only notice it if it's not there! For the model, I used a large rectangular softbox key light to get a nice soft light on her for the full body shot. I used a silver reflector to bounce some fill light from the left and another flash as a hair/edge light to add some dramatic feel to the shot. For the next shot, I used two continuous lights with pink and purple colored gels to light the white painted brick wall in the background. A little bit of this color spilled onto the model as well. Note: This could be done with additional flashes, but I only have two of them, so i used them to light the model. The model was key lit with a small beauty dish from a 45-degree angle above and directly at her face. Fill light was added from directly in front and below her with a silver reflector. And lastly, a hair light with a grid to funnel the light in a tighter pattern was placed on the right and slightly behind her. Using colored gels and this standard beauty lighting setup, I was able to create a cool shot on an otherwise boring white painted brick background. The next shot was a fun one! I used a fog machine to create a smokey effect, and lit the musician with two opposing flashes. from the left and right sides. Both flashes had small parabolic dishes with grids to focus the light, but no modifiers to soften the light This allowed me to create dramatic hard edged lighting with deeper shadows. I also used a gold reflector on the floor in front of the camera to add a slight bit of warm fill from below. The result is a dramatic, mysterious portrait. The final shot was a bit tricker and represents the latest destination on my light shaping journey. This requires continuous lighting and flash to create. You'll also need a remote flash controller and a bulb controller to open and close your camera shutter. The key light was a flash with a large rectangle soft box placed on the left side at a slight angle to the front so it would light as much of the model as possible without spilling too much light on the background (Any background spill was removed in Photoshop). A second flash with a grid was added on the right side light her hair and arms slightly. This was a harder light to give a more dramatic feel. I didn't want it to wrap around the side of her face too much. These two flashes froze the image of the dancer near the apex of her jump. A third continuous light was placed on the right side by the fill/hair light. This continuous light had a small rectangular soft box on it to cast a soft light on her back. It served as a bit of a fill light, but more importantly, it was necessary to create the motion trail. portion of the photo. To capture this image I opened the shutter as the dancer started her move, then popped the flash as she hit the apex of her jump and closed the shutter directly after popping the flash to get as little of a motion trail in front of her as possible. This is tricky and requires multiple attempts to get it right, but the images you can create are fantastic! So that's where I am on my light shaping journey after one year. I hope this inspires you to stretch your abilities and continually seek out opportunities to create beautiful images! -Brant Brant Waldeck is a next level cinematographer and photographer living and working near Charlotte, North Carolina.
3 Comments
11/22/2017 01:34:16 am
Amazing blog and very interesting stuff you got here! I definitely learned a lot from reading through some of your earlier posts as well and decided to drop a comment on this one!
Reply
Leave a Reply. |
Archives
September 2018
Categories |

 RSS Feed