|
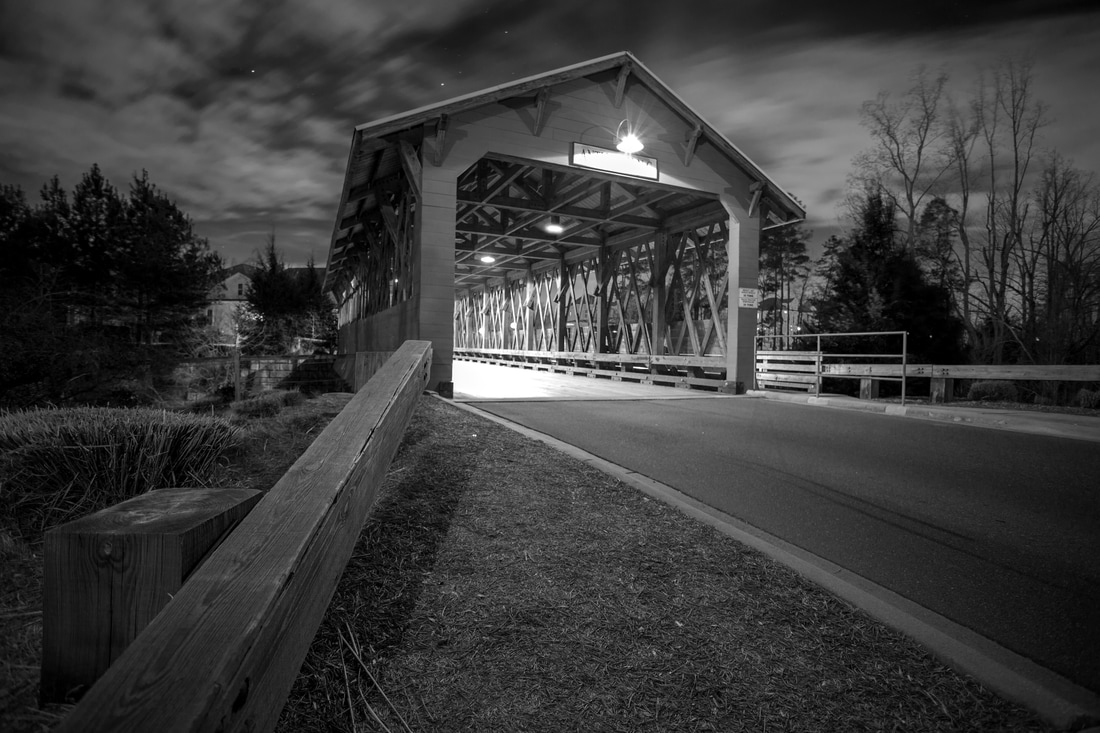
Most DSLRs have the ability to capture exposures up to 30 seconds without any additional equipment. In a lot of cases, trying to do that long of an exposure can result in an overblown image, but if you pick up an ND filter (sunglasses for your camera) and learn a few tricks, you can use long exposure to create some amazing shots - day or night! To do this properly, you have to use a sturdy tripod, because even the slightest camera shake becomes very noticeable in long exposure. You should also set your camera on timer mode. I use the 2-second timer for most shots. This allows you to press the shutter button and then completely remove your hands from the camera so it doesn't shake. If I want to get in the shot (like you'll see in some of the examples below), I use the 10-second timer. This gives me time to move into the frame before the shutter opens. Here are some ideas for you to try. LIGHT UP THE NIGHT Long exposure is a great way to make the most out of available light at night. It's truly amazing what a small amount of light can do to a night scene. The image above was taken during a full moon, which gave fantastic light to the clouds. And beyond the relatively dim lights on the bridge, no other lights were used to capture this shot. Camera Settings
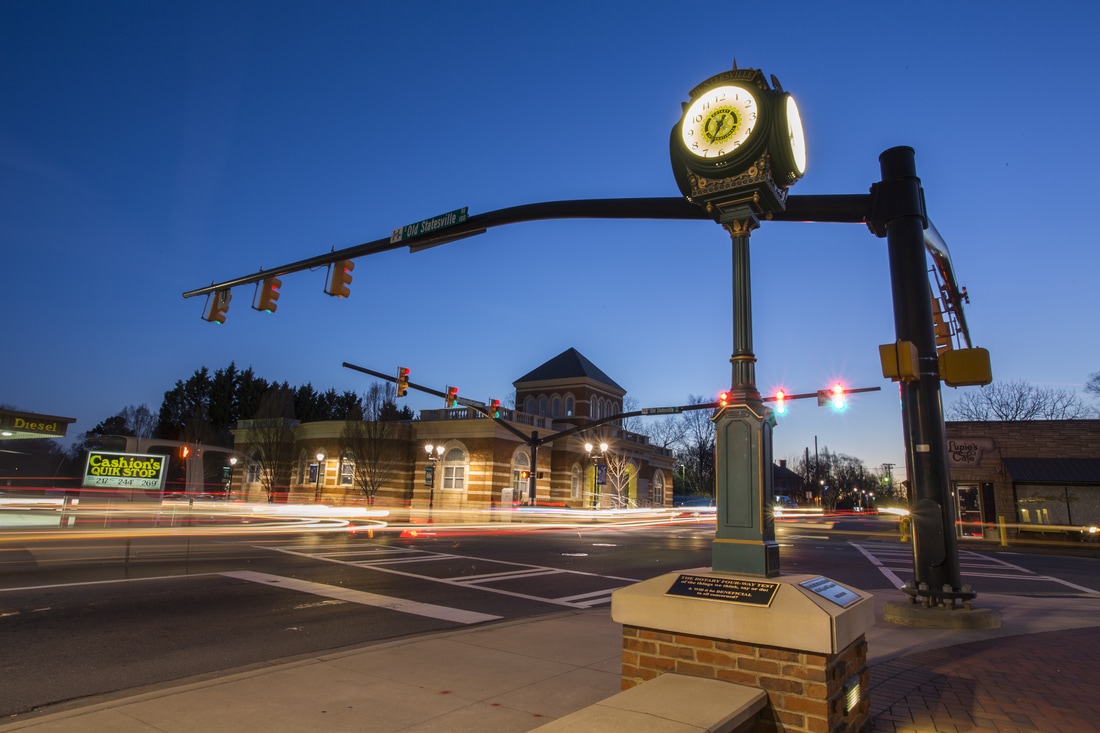
LIGHT TRAILS! One really cool byproduct of long exposure is light trails. In this shot, I timed my exposure to capture cars moving through the intersection, and in this case, I blended multiple exposures together in Photoshop to combine multiple light trails (Google "image stacking" to learn more about that). Beyond moving vehicles, you can really get creative with light trails...just waving a flashlight around or holding up your iPhone and moving it in a pattern will produce interesting results. Camera Settings
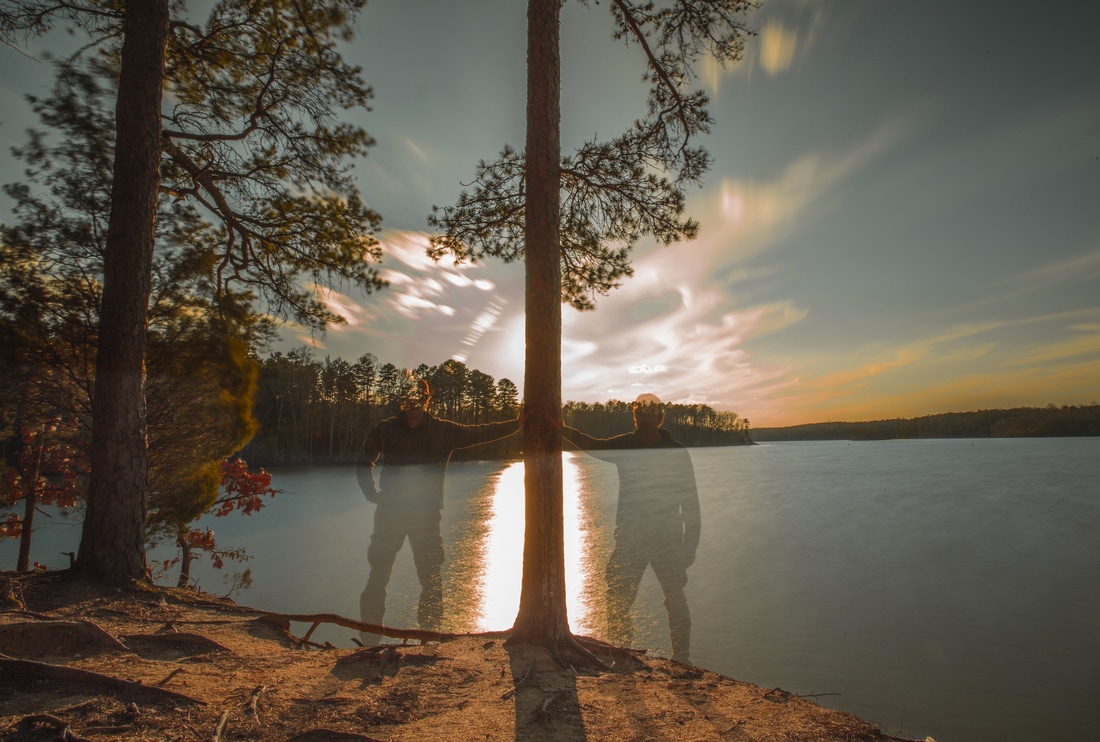
CREATE GHOSTS! One very cool attribute of long exposure is that the only things that look solid are those items that remain in the exposure the entire time, unless it's a bright light. That's why cars leave light trails, but you don't really see the car unless it stops...and even then, the car is see-through. For this image I took advantage of that unique property of long exposure and made two "ghosts" of myself in one image. Using a 25-second exposure and a 10-second timer, I pressed the shutter button and ran to the first spot to the left of the tree. After I heard the shutter open, I counted to 10 and moved over to the other side of the tree. Then I held my pose and counted to 10 again. Before the shutter closed, I ran back behind the camera. Those times are flexible and will dictate how "see-through" you are. And remember as you experiment with this, be ready for onlookers to think you're crazy as you run to different places and look at your camera! NOTE: For this shot, I was pointed directly at the sun, so I had to use dark ND filter. Mine is a Tiffen Pro100 10-stop ND, so it's really dark. There are other great ND filters out there, but I would recommend avoiding variable ND filters for long exposure. At their darkest point, they tend to create weird X patterns or vignetting. Camera Settings
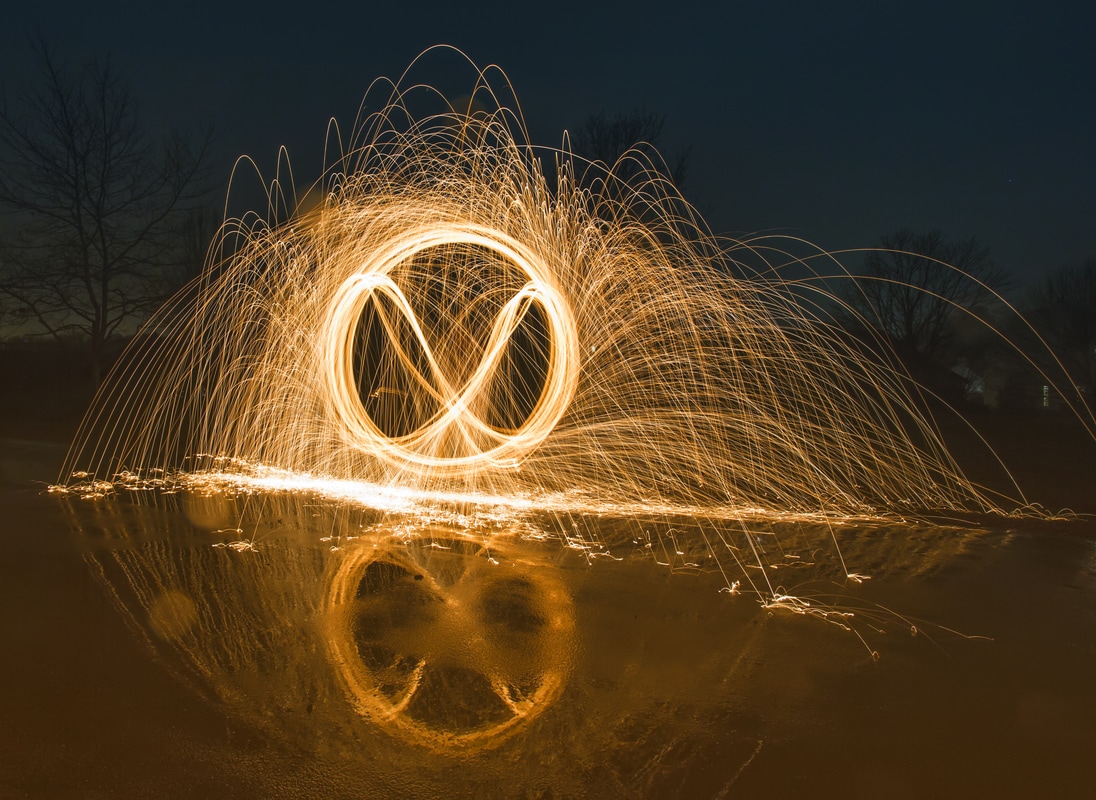
SPARK YOUR IMAGINATION This is one of the really cool techniques for lighting up a pitch dark night. Buy some steel wool, attach a piece of it to a wire (or something else that can handle being hot), touch the steel wool with a 9-volt battery to start it burning, have someone press the shutter button, and start swinging the steel wool. You can do similar shots with sparklers. For this shot, I purposely chose a wet parking lot for a couple of reasons: 1. The burning steel wool will put itself out when it hits the wet ground, and 2. It creates a reflection of the sparks. Note that you shouldn't do this on dry grass or in the woods, because you can inadvertently start a fire. Camera Settings
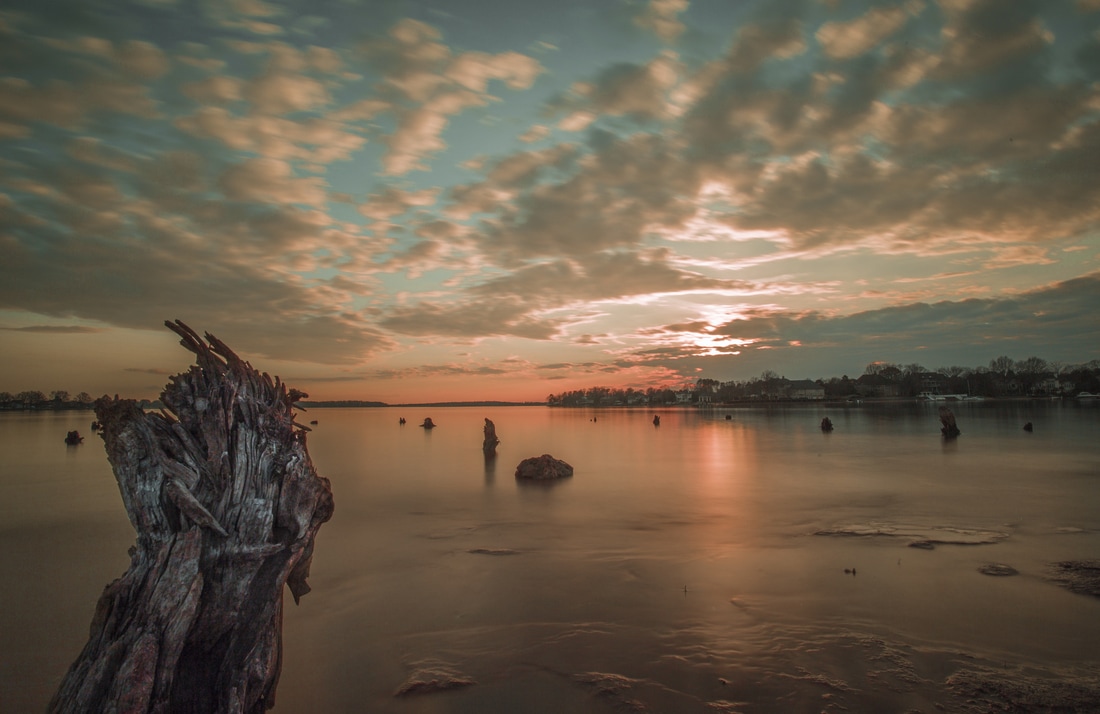
SMOOTH THE WATERS Another really cool effect that comes from long exposures is the smoothing of water in lakes, oceans, rivers or waterfalls. Even with choppy water, the effect is quite stunning. These shots look best with stationary objects in the foreground and some clouds in the sky to show dramatic movement. Camera Settings
This type of photography takes practice and a lot of trial and error. And your shots turn out best if you have the ability to do some post-processing via Adobe Lightroom or Adobe Photoshop. That's not to say I haven't captured some amazing images directly in the camera, but because you are typically dealing with a wide range of light from pure darkness to bright lights, it helps to be able to adjust the images for maximum effect. I hope this article inspires you to get out there and create. Cameras are amazing tools when you use them to their fullest potential! - Brant Brant Waldeck is a next level cinematographer, photographer and graphic designer living in the Charlotte, NC area.
1 Comment
|
Archives
September 2018
Categories |

 RSS Feed